In this guide, we’ll be explaining how to create a Local Search Grid report.
If you prefer to learn by watching videos, check out our free course in BrightLocal Academy that shows you how to set up and understand a Local Search Grid report ?
Contents
There are two ways to create a Local Search Grid report, depending on whether you already have a Location set up or not.
1. Initial Setup
a) Create a Local Search Grid report with no existing Location
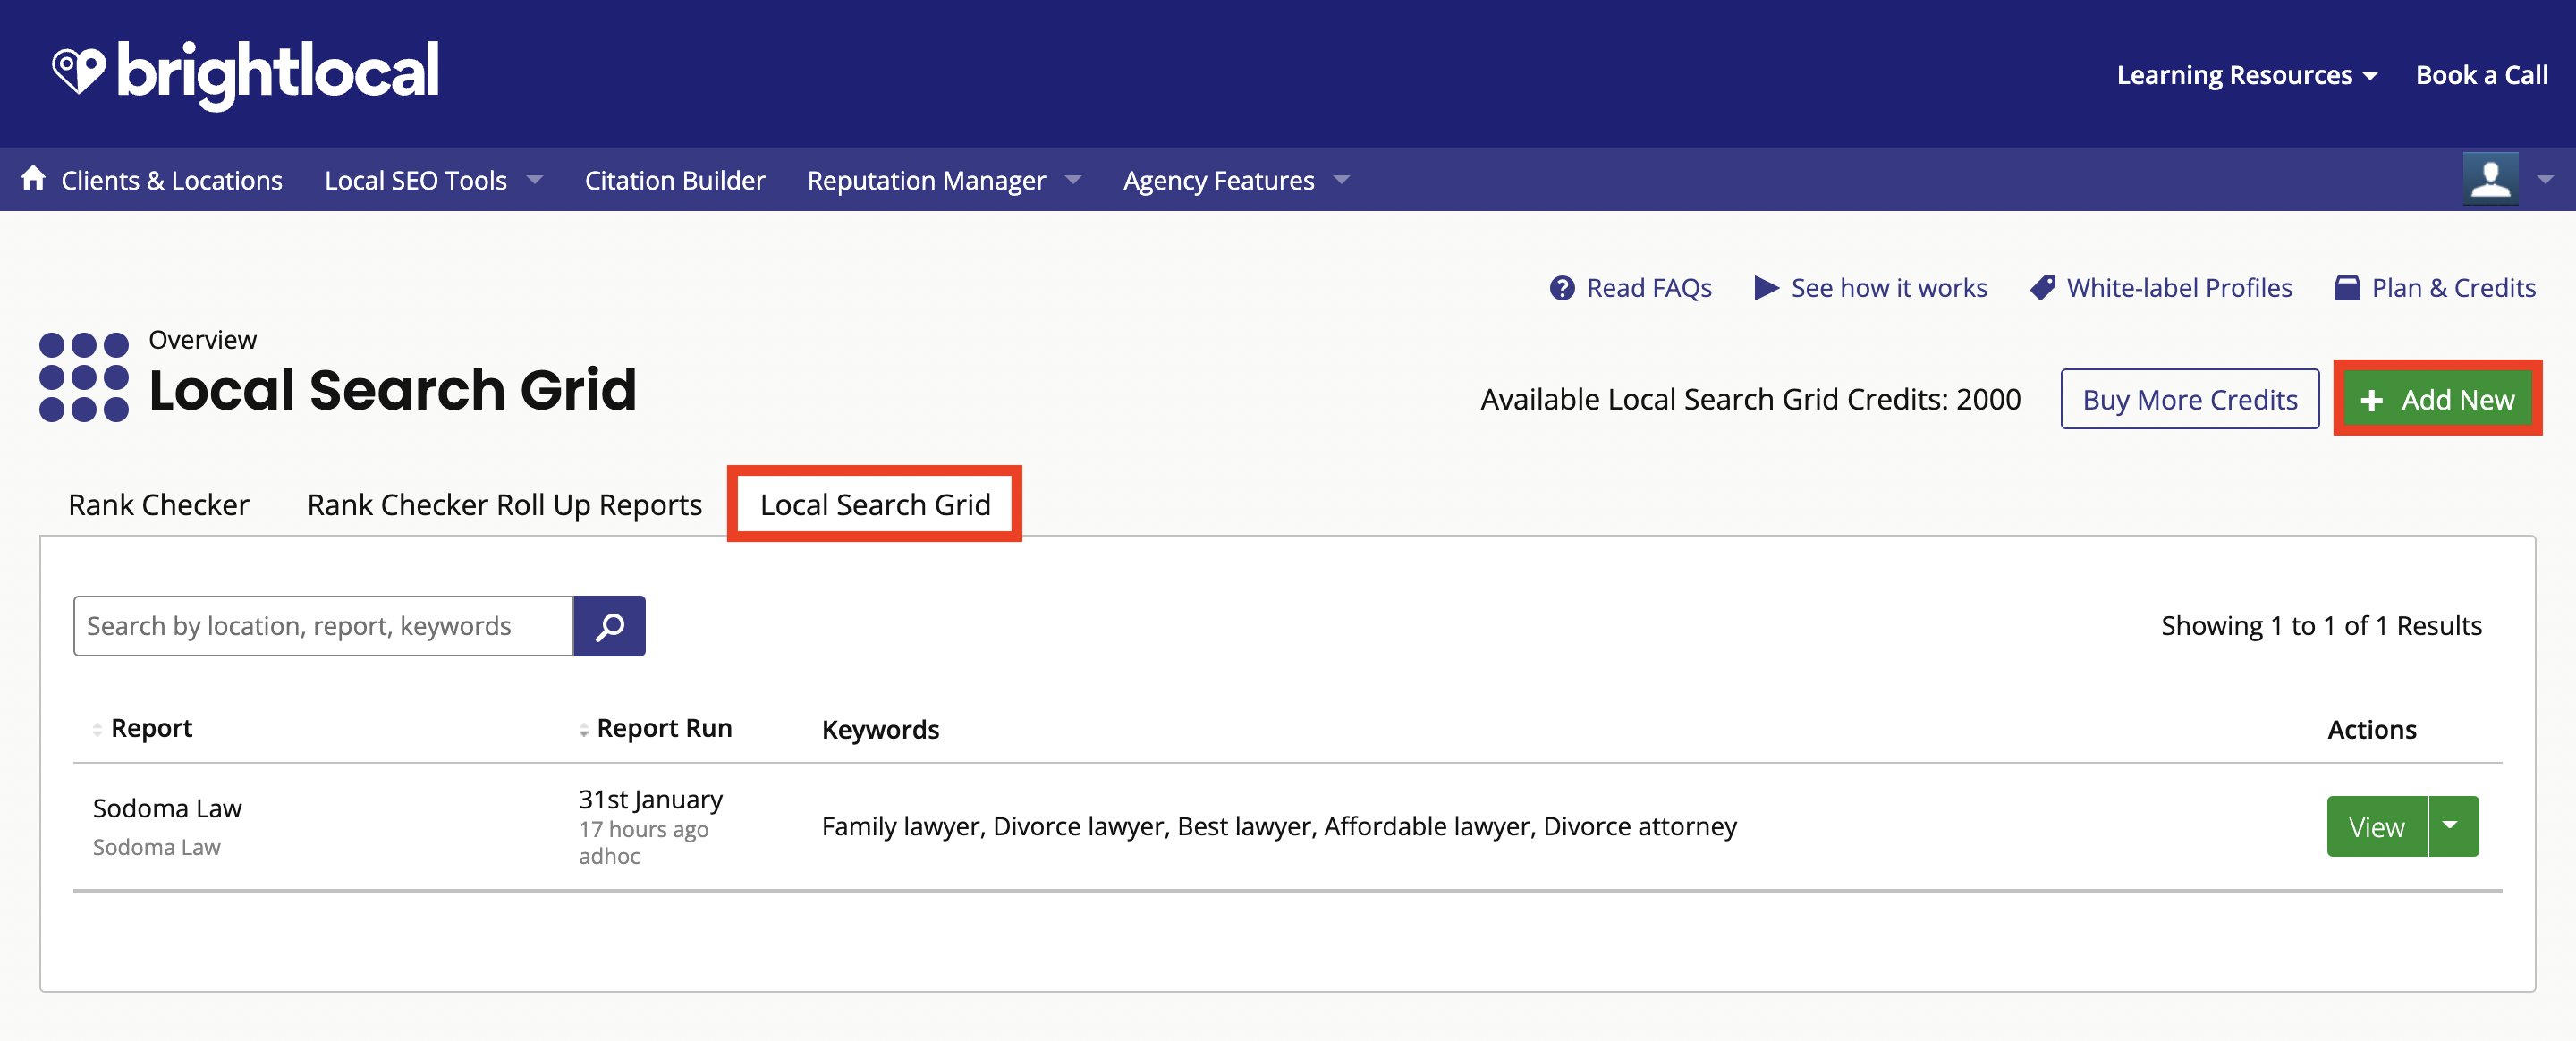
To create a Local Search Grid report without a Location already set up, first, click the 'Local SEO Tools' dropdown in the top menu and select 'Local Search Grid'.

Open the Local Search Grid tab and click the green 'Add New' button (shown below within the red boxes).
Click the green ‘Create New Location’ button and follow the steps to set up a new Location.
b) Create a Local Search Grid report with an existing Location
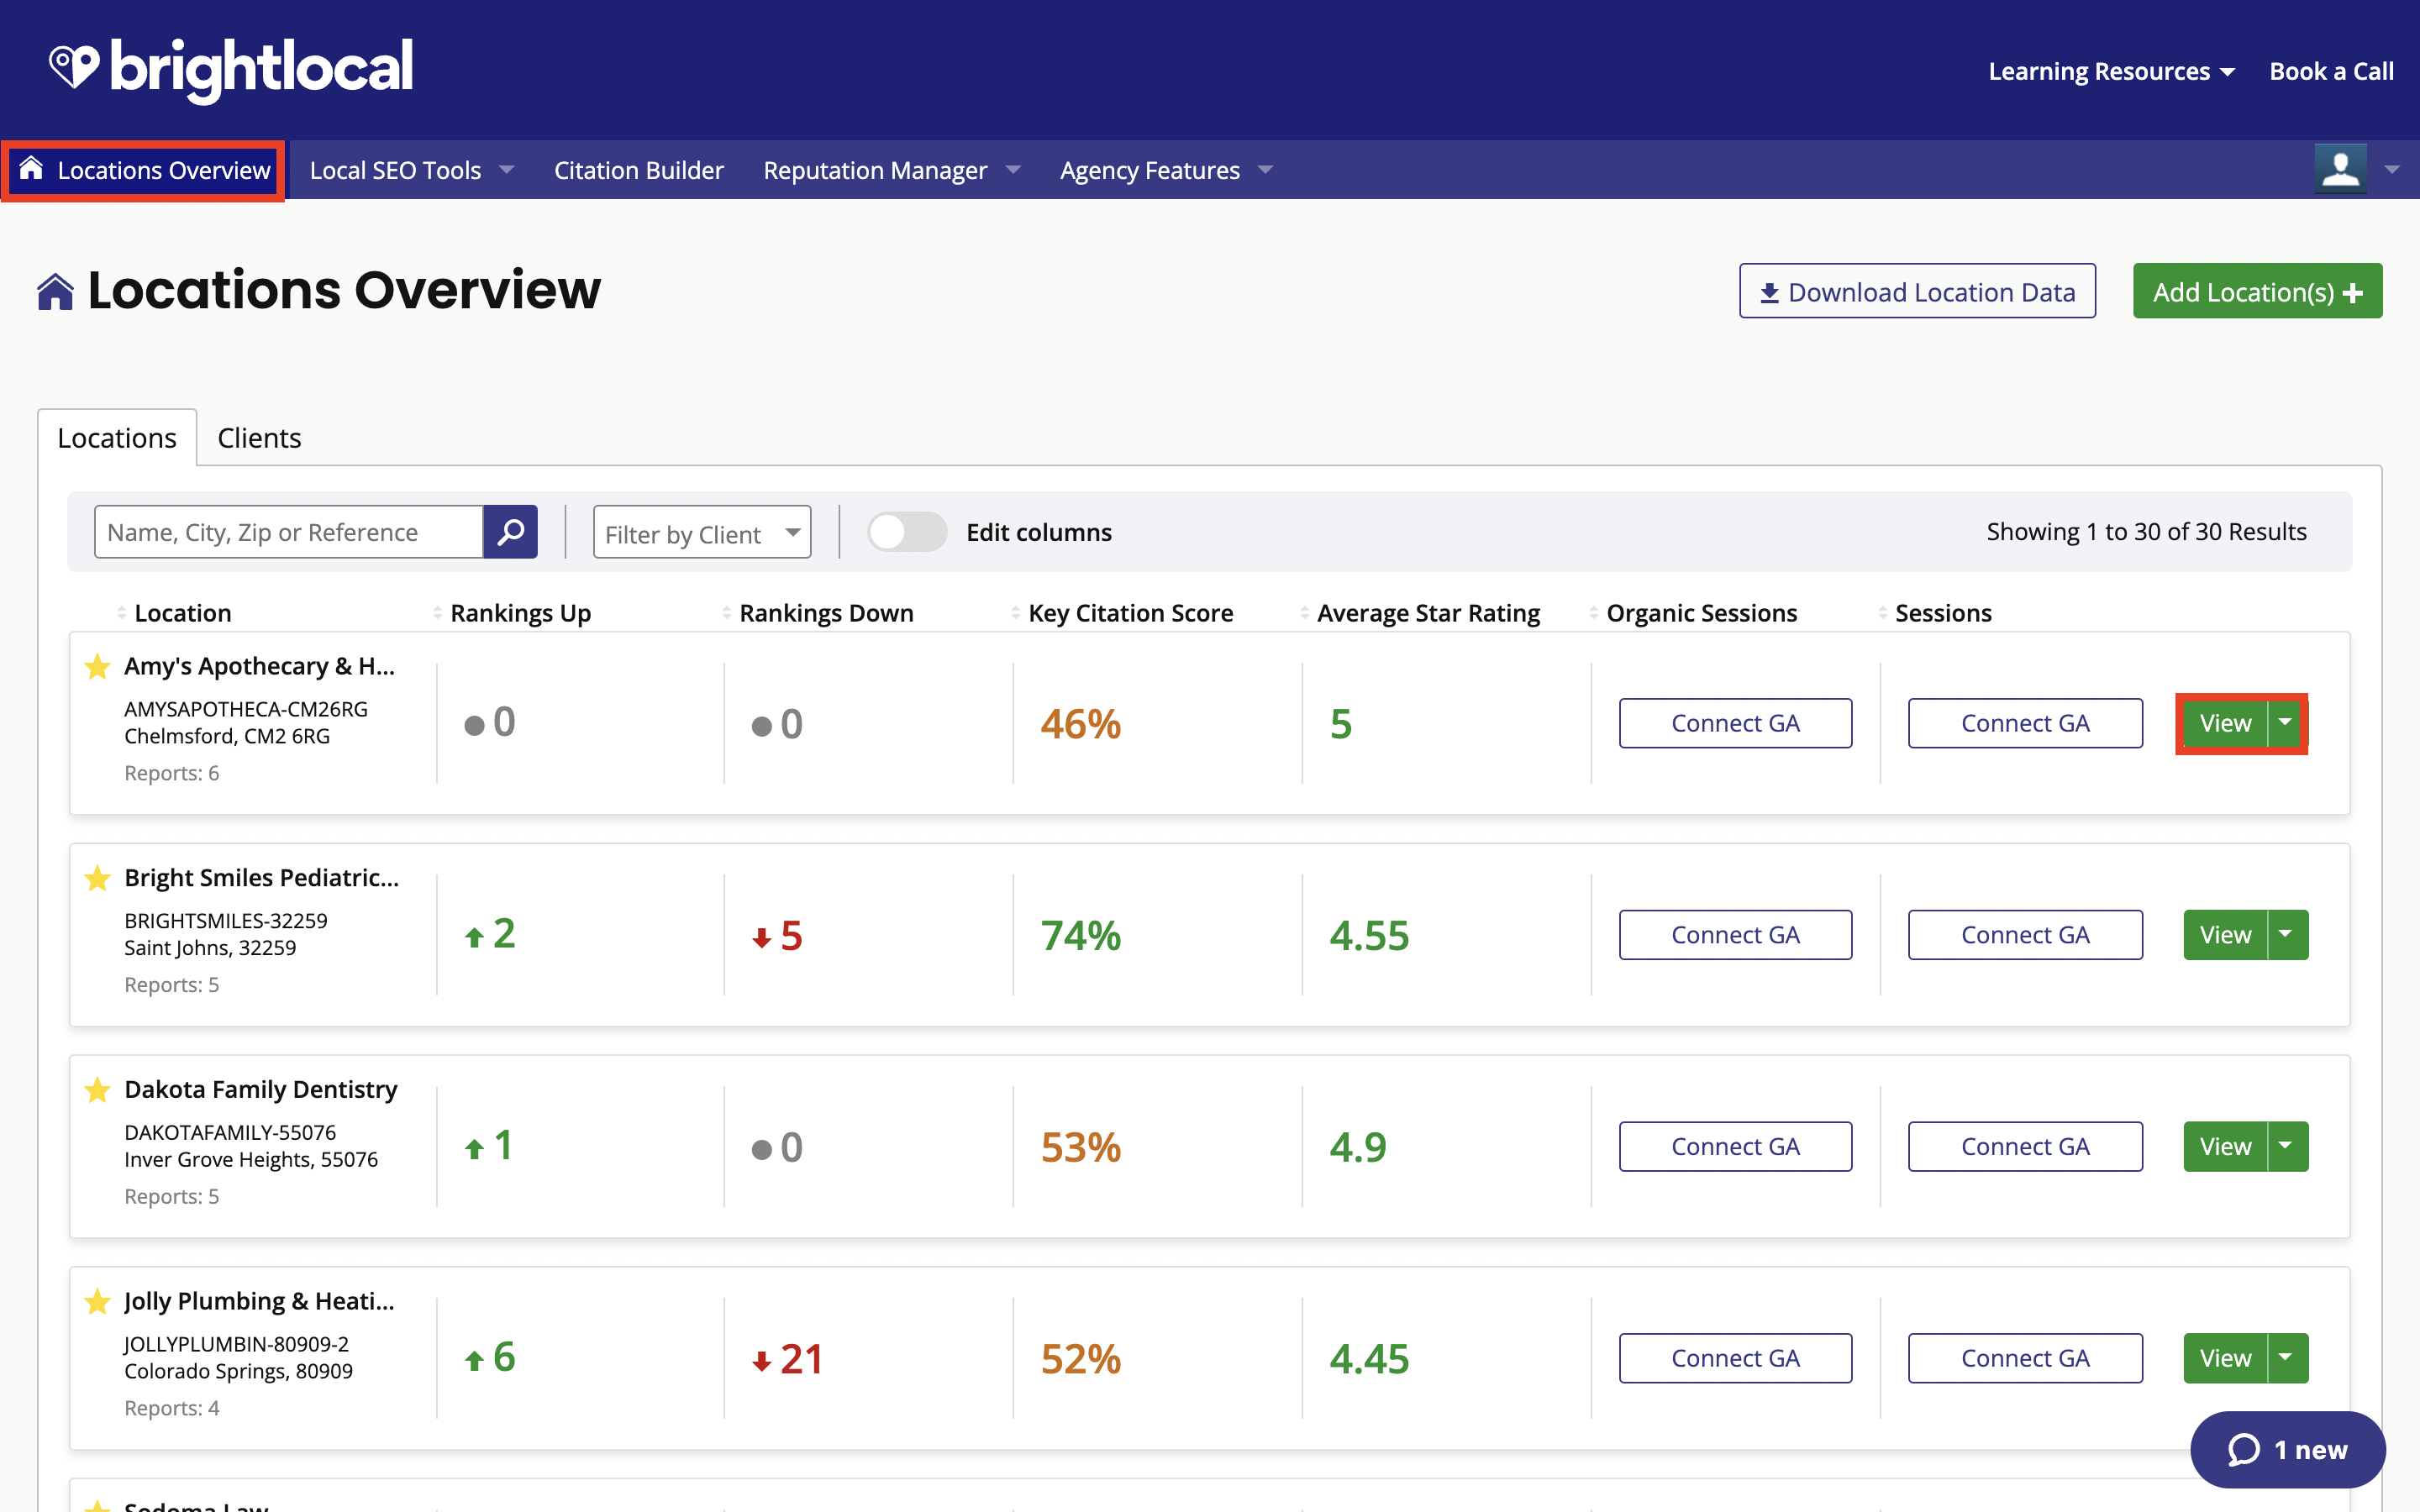
If a Location has already been set up, and you'd like to create a Local Search Grid report for it, click 'Locations Overview' in the Top Menu to reveal a list of Locations.
Find the Location you want to create the report for and click the green 'View' button.
Once you’re inside the location you’ll see the Location sidebar menu on the left. This shows a list of all the reports for your Location.
Click ‘Rankings’’ in this menu, and then ‘Local Search Grid’ in the dropdown.
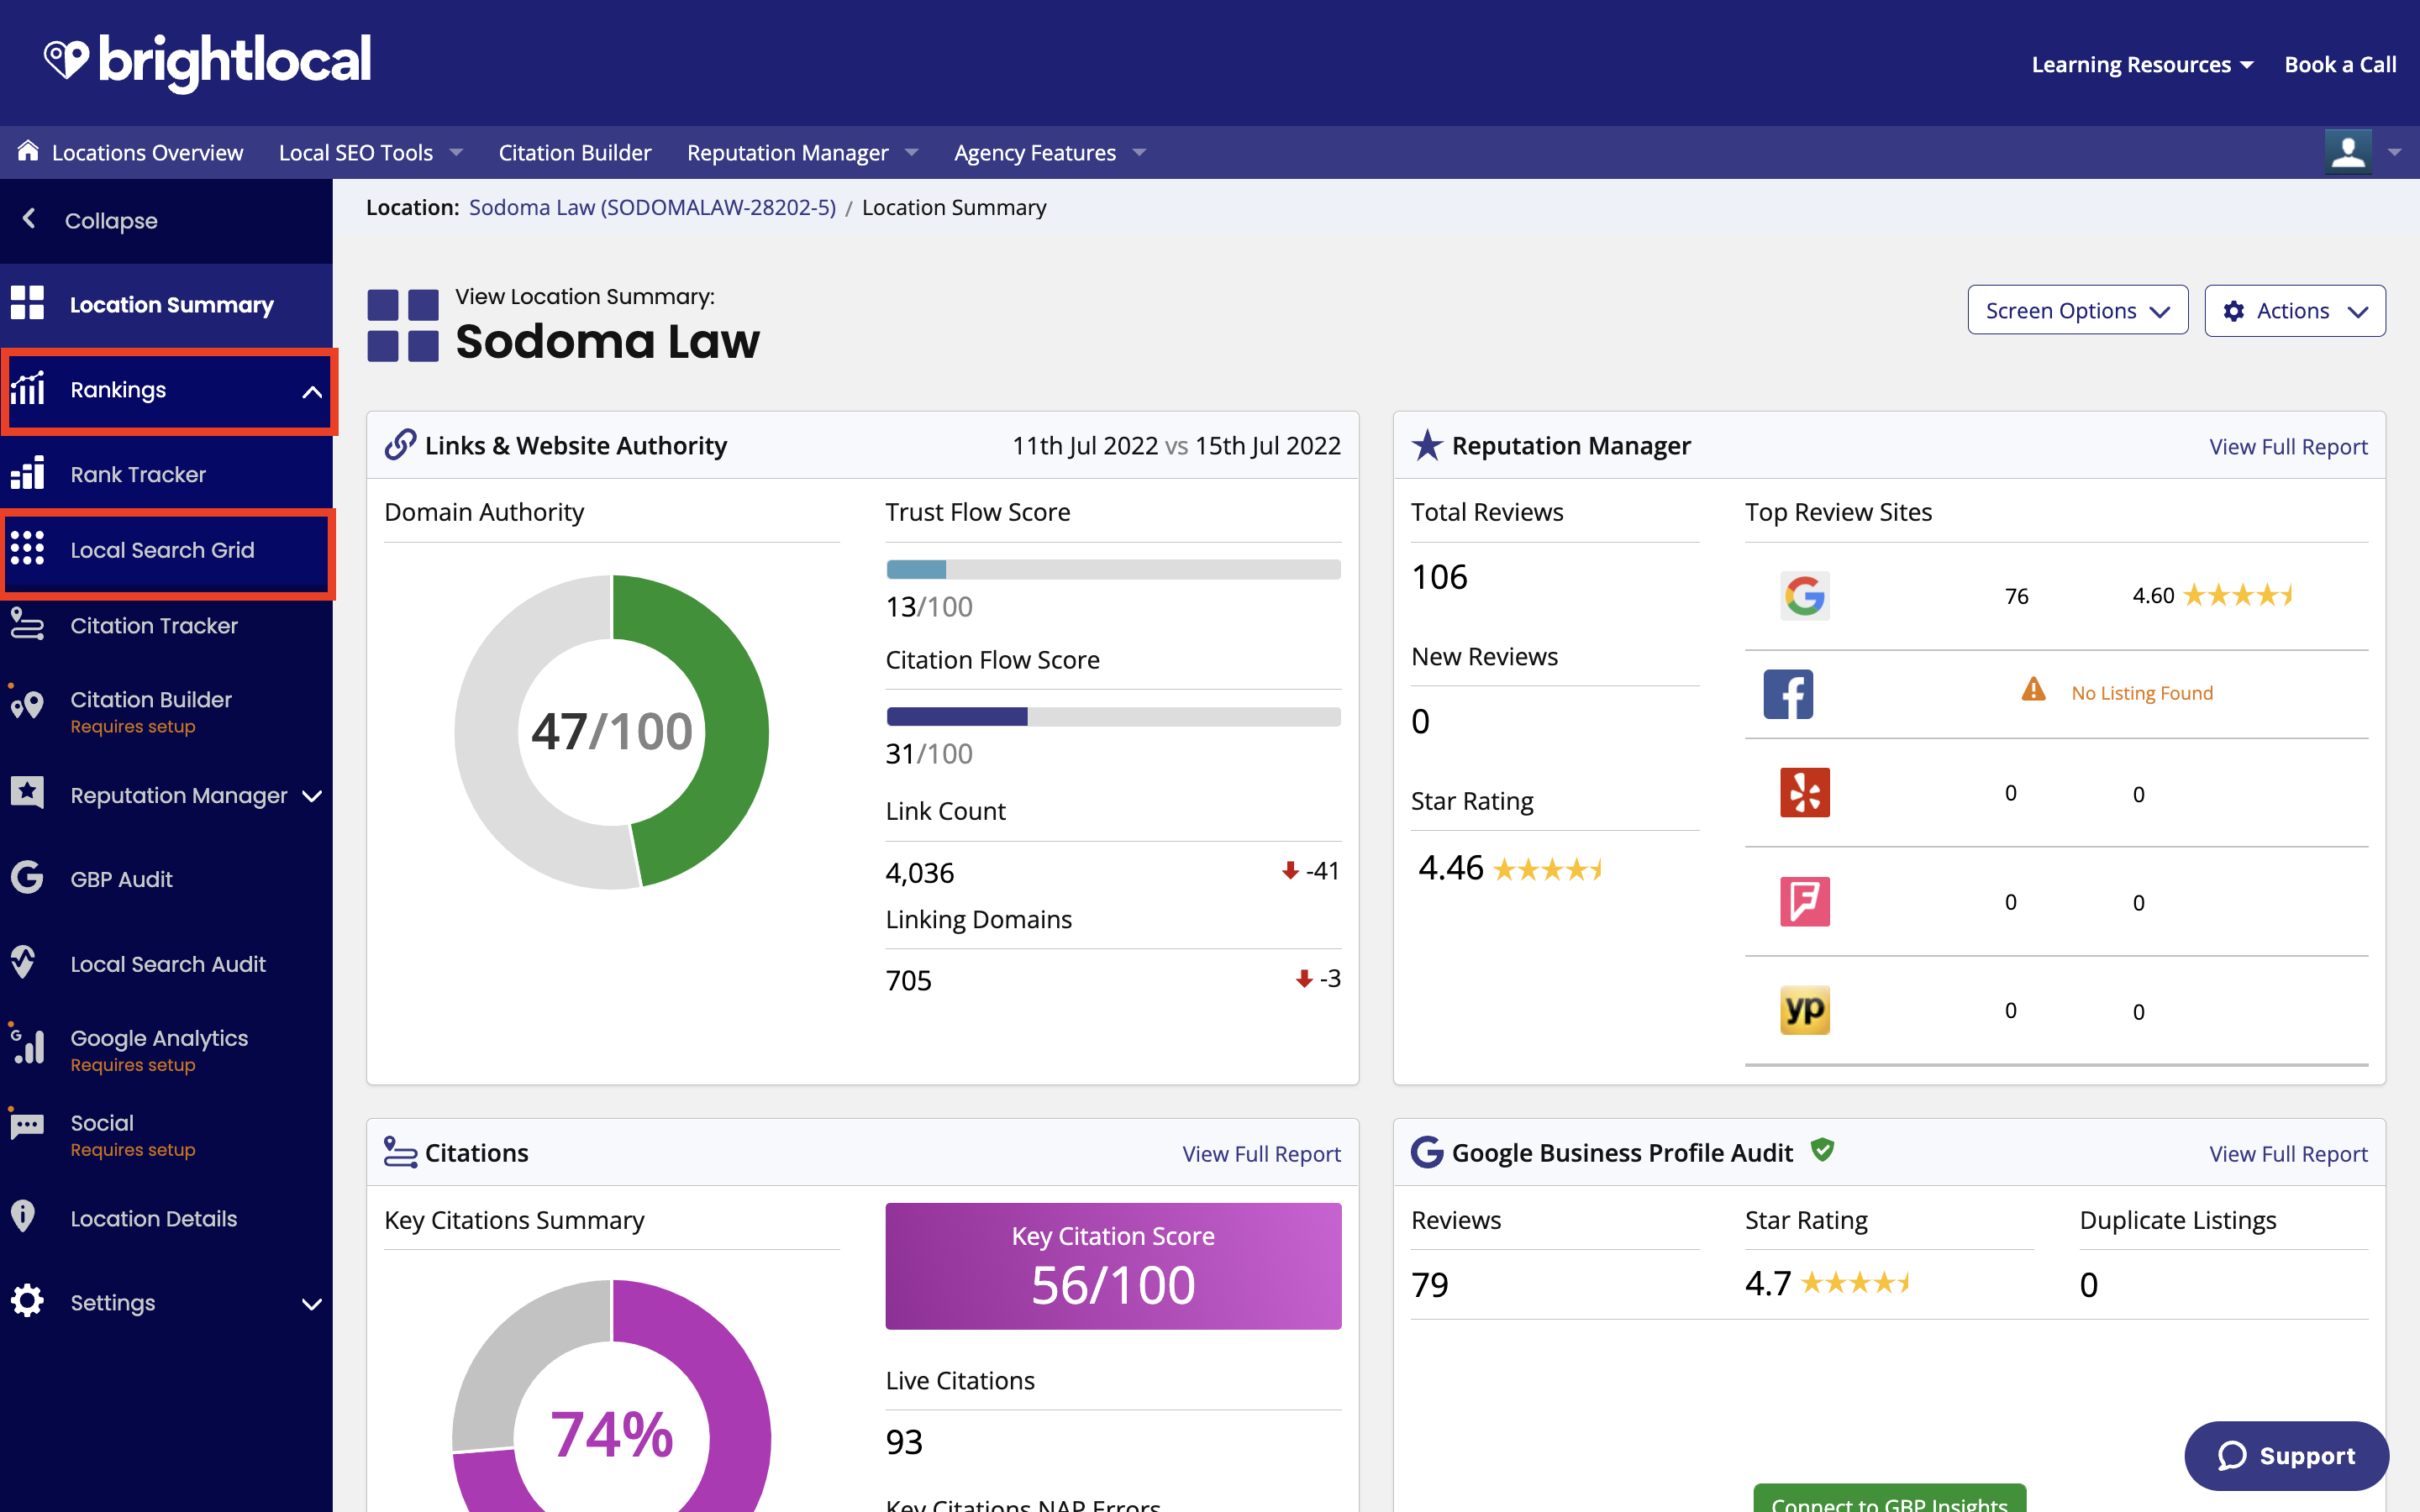
Then click the ‘Get started’ button.

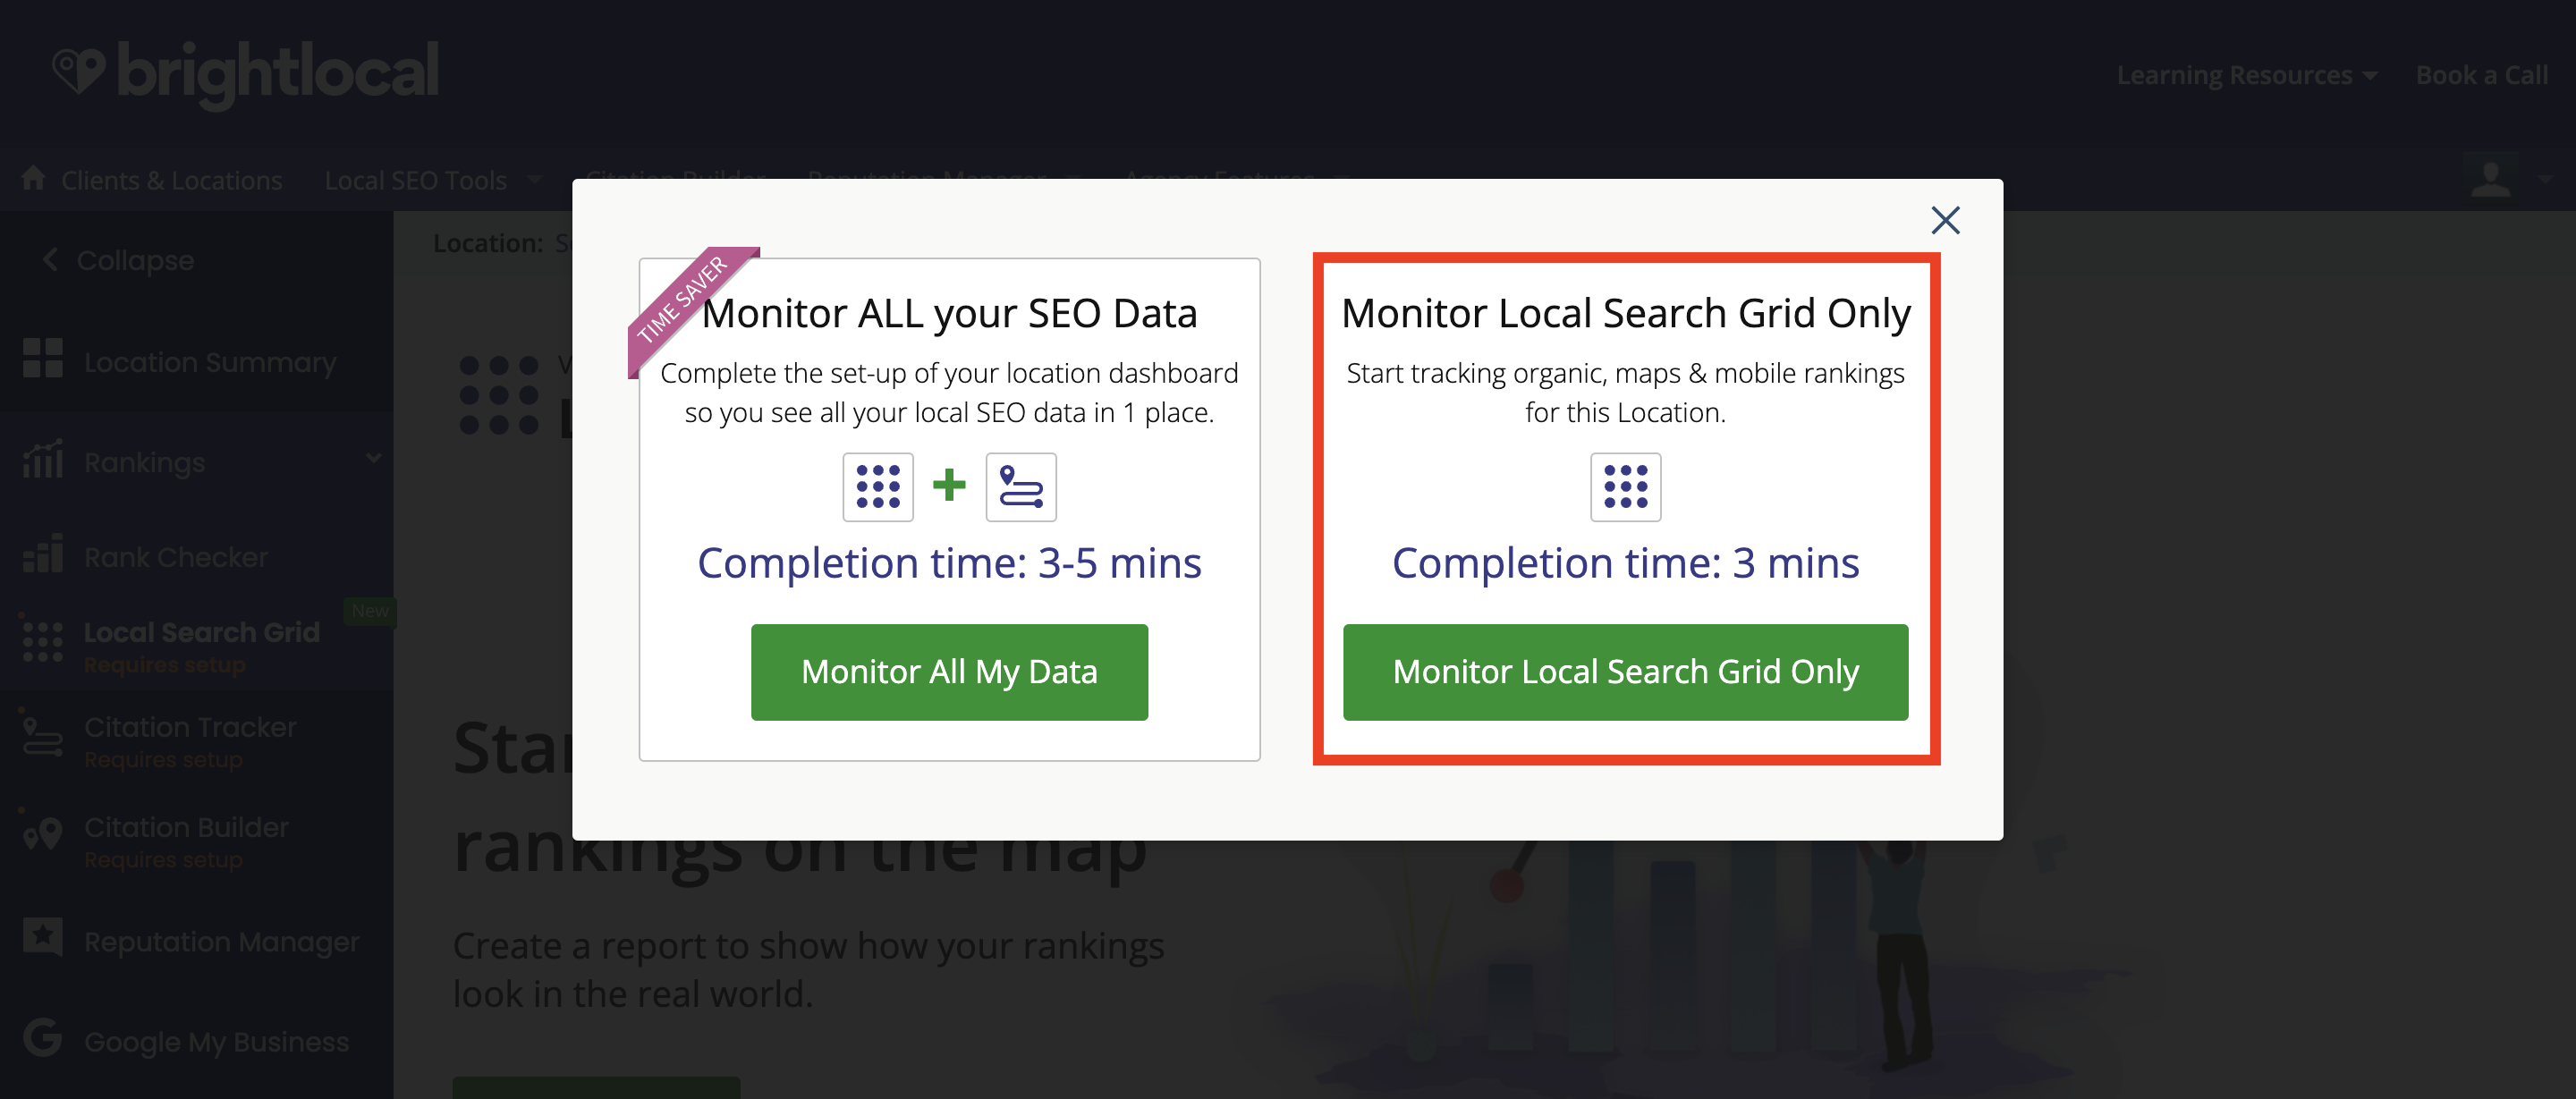
Then, choose the option to 'Monitor Local Search Grid Only'.
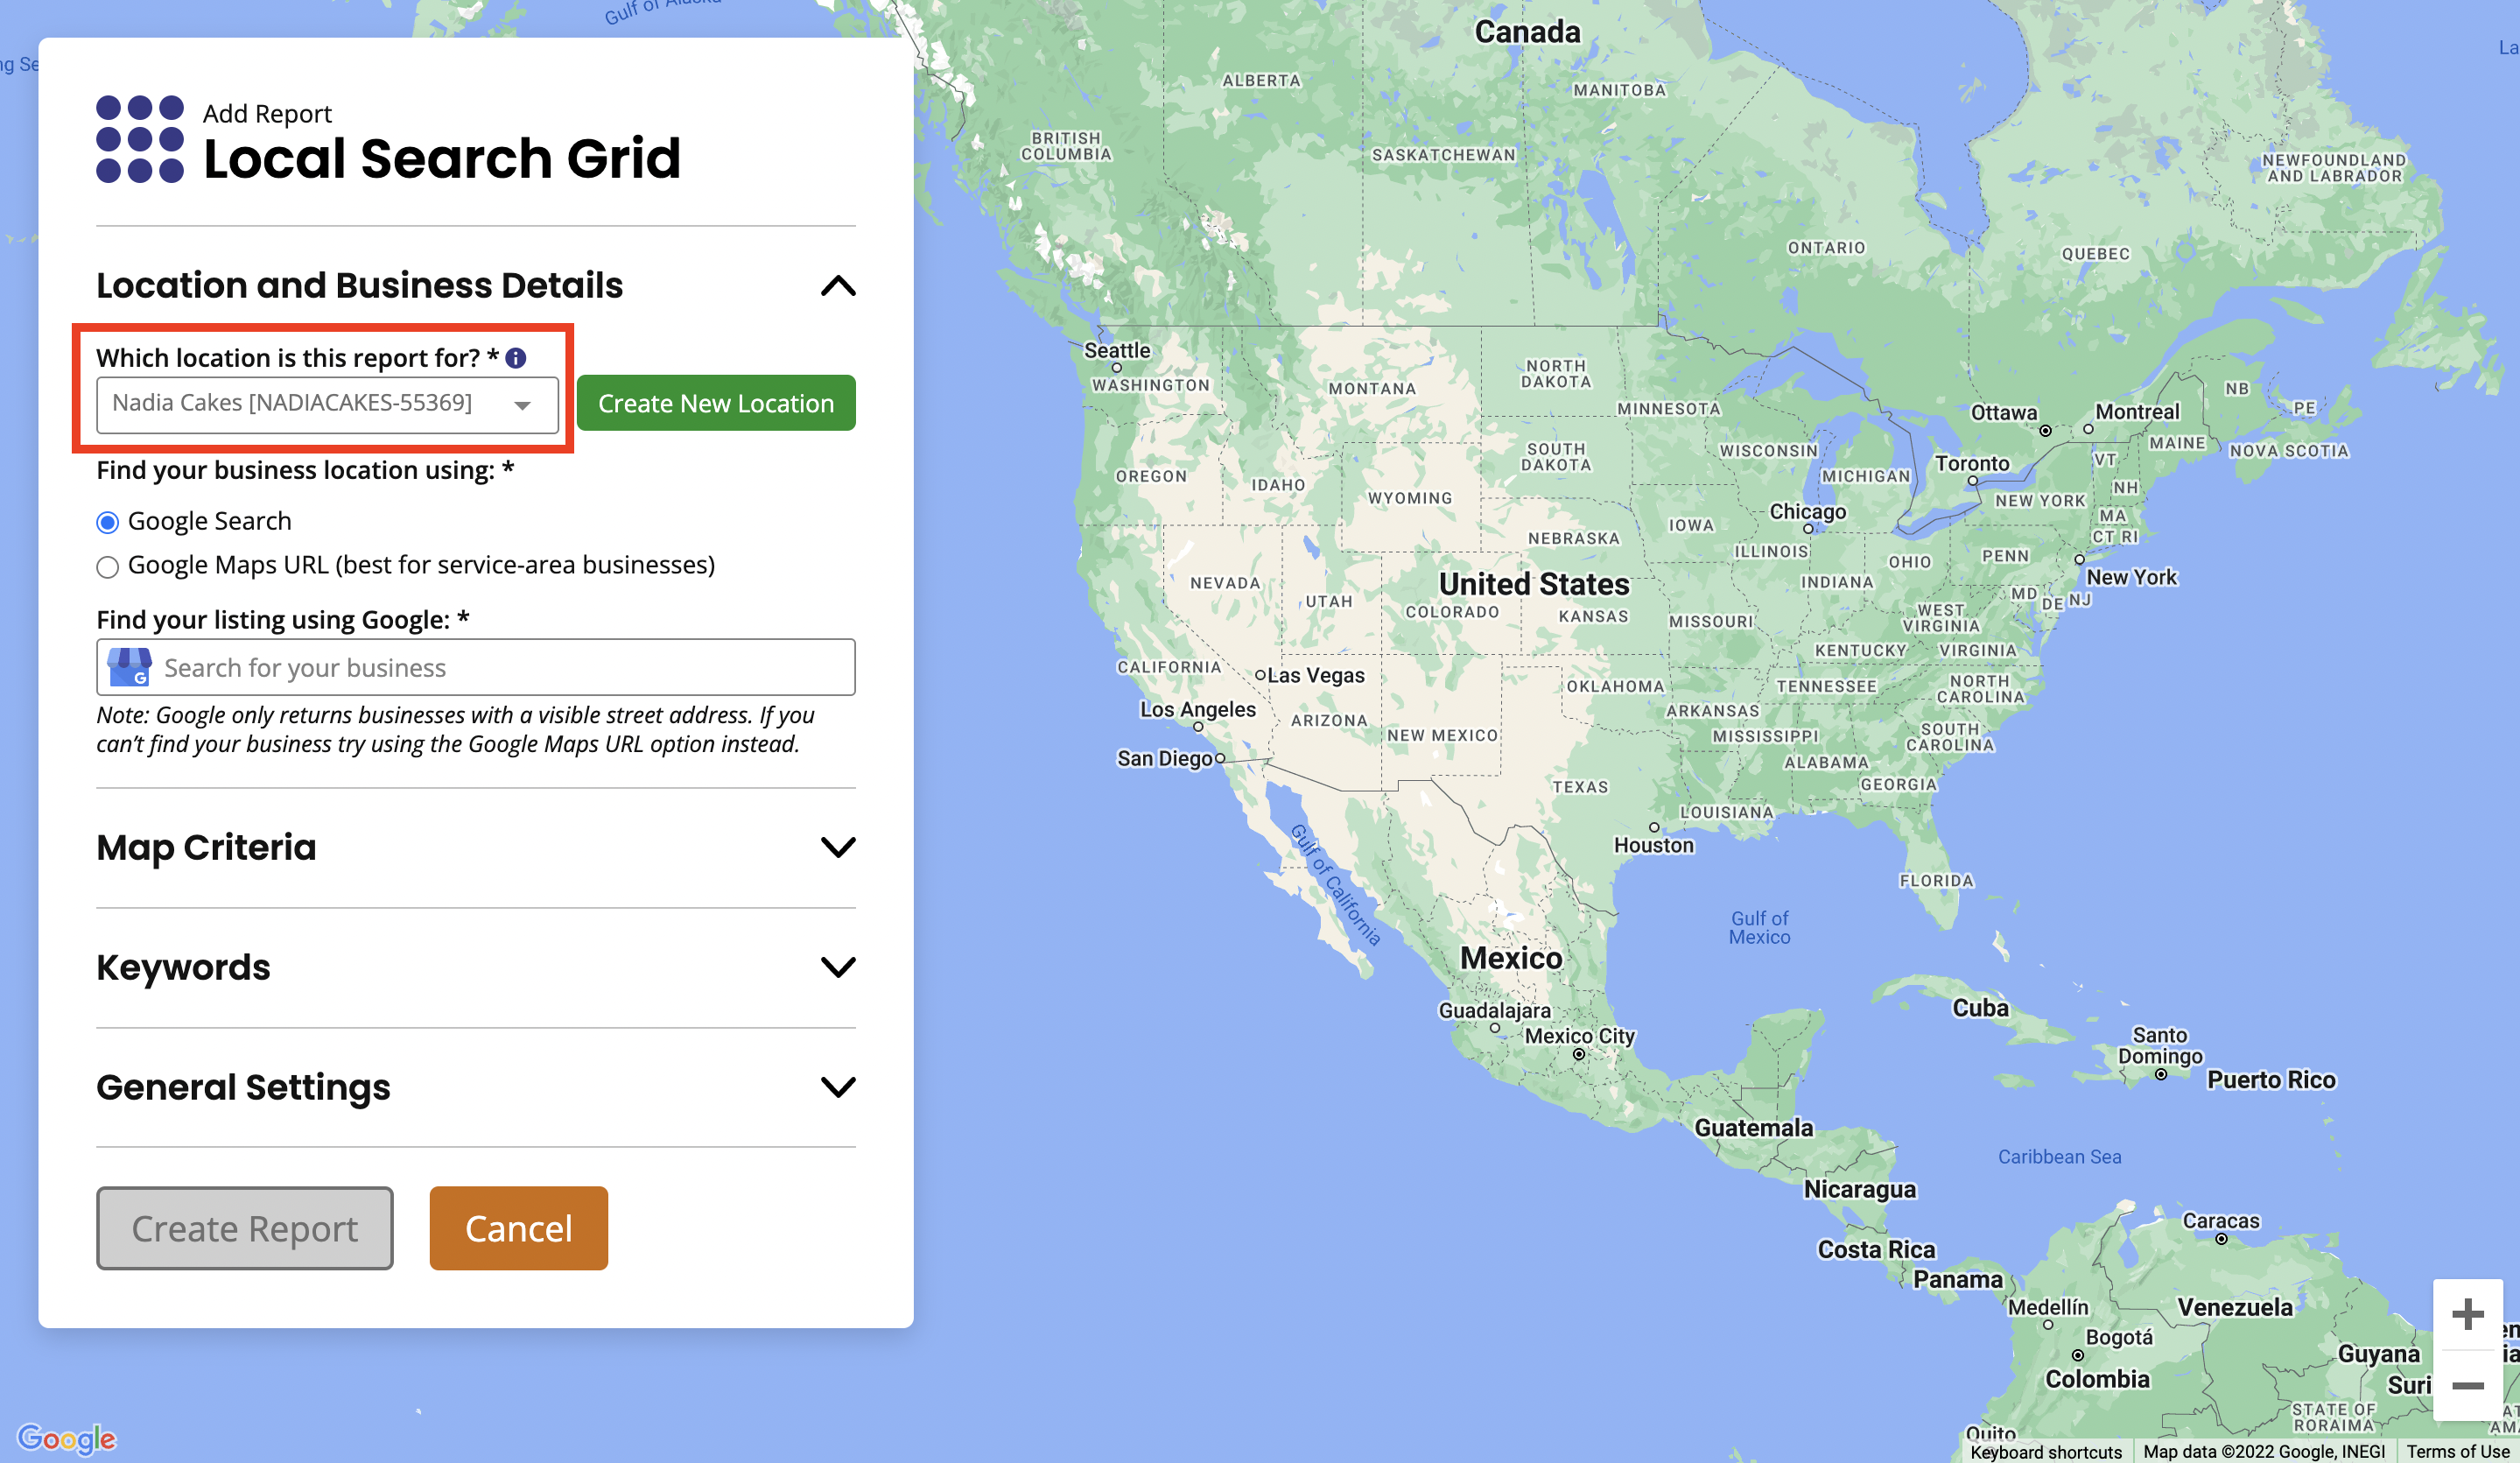
2. Location & Business Details
In the ‘Location and Business Settings’ section, the field labeled ‘Which Location is this report for?’ should be automatically filled with your business. If it’s not, start typing your business name in the box and choose the correct one from the options that appear.
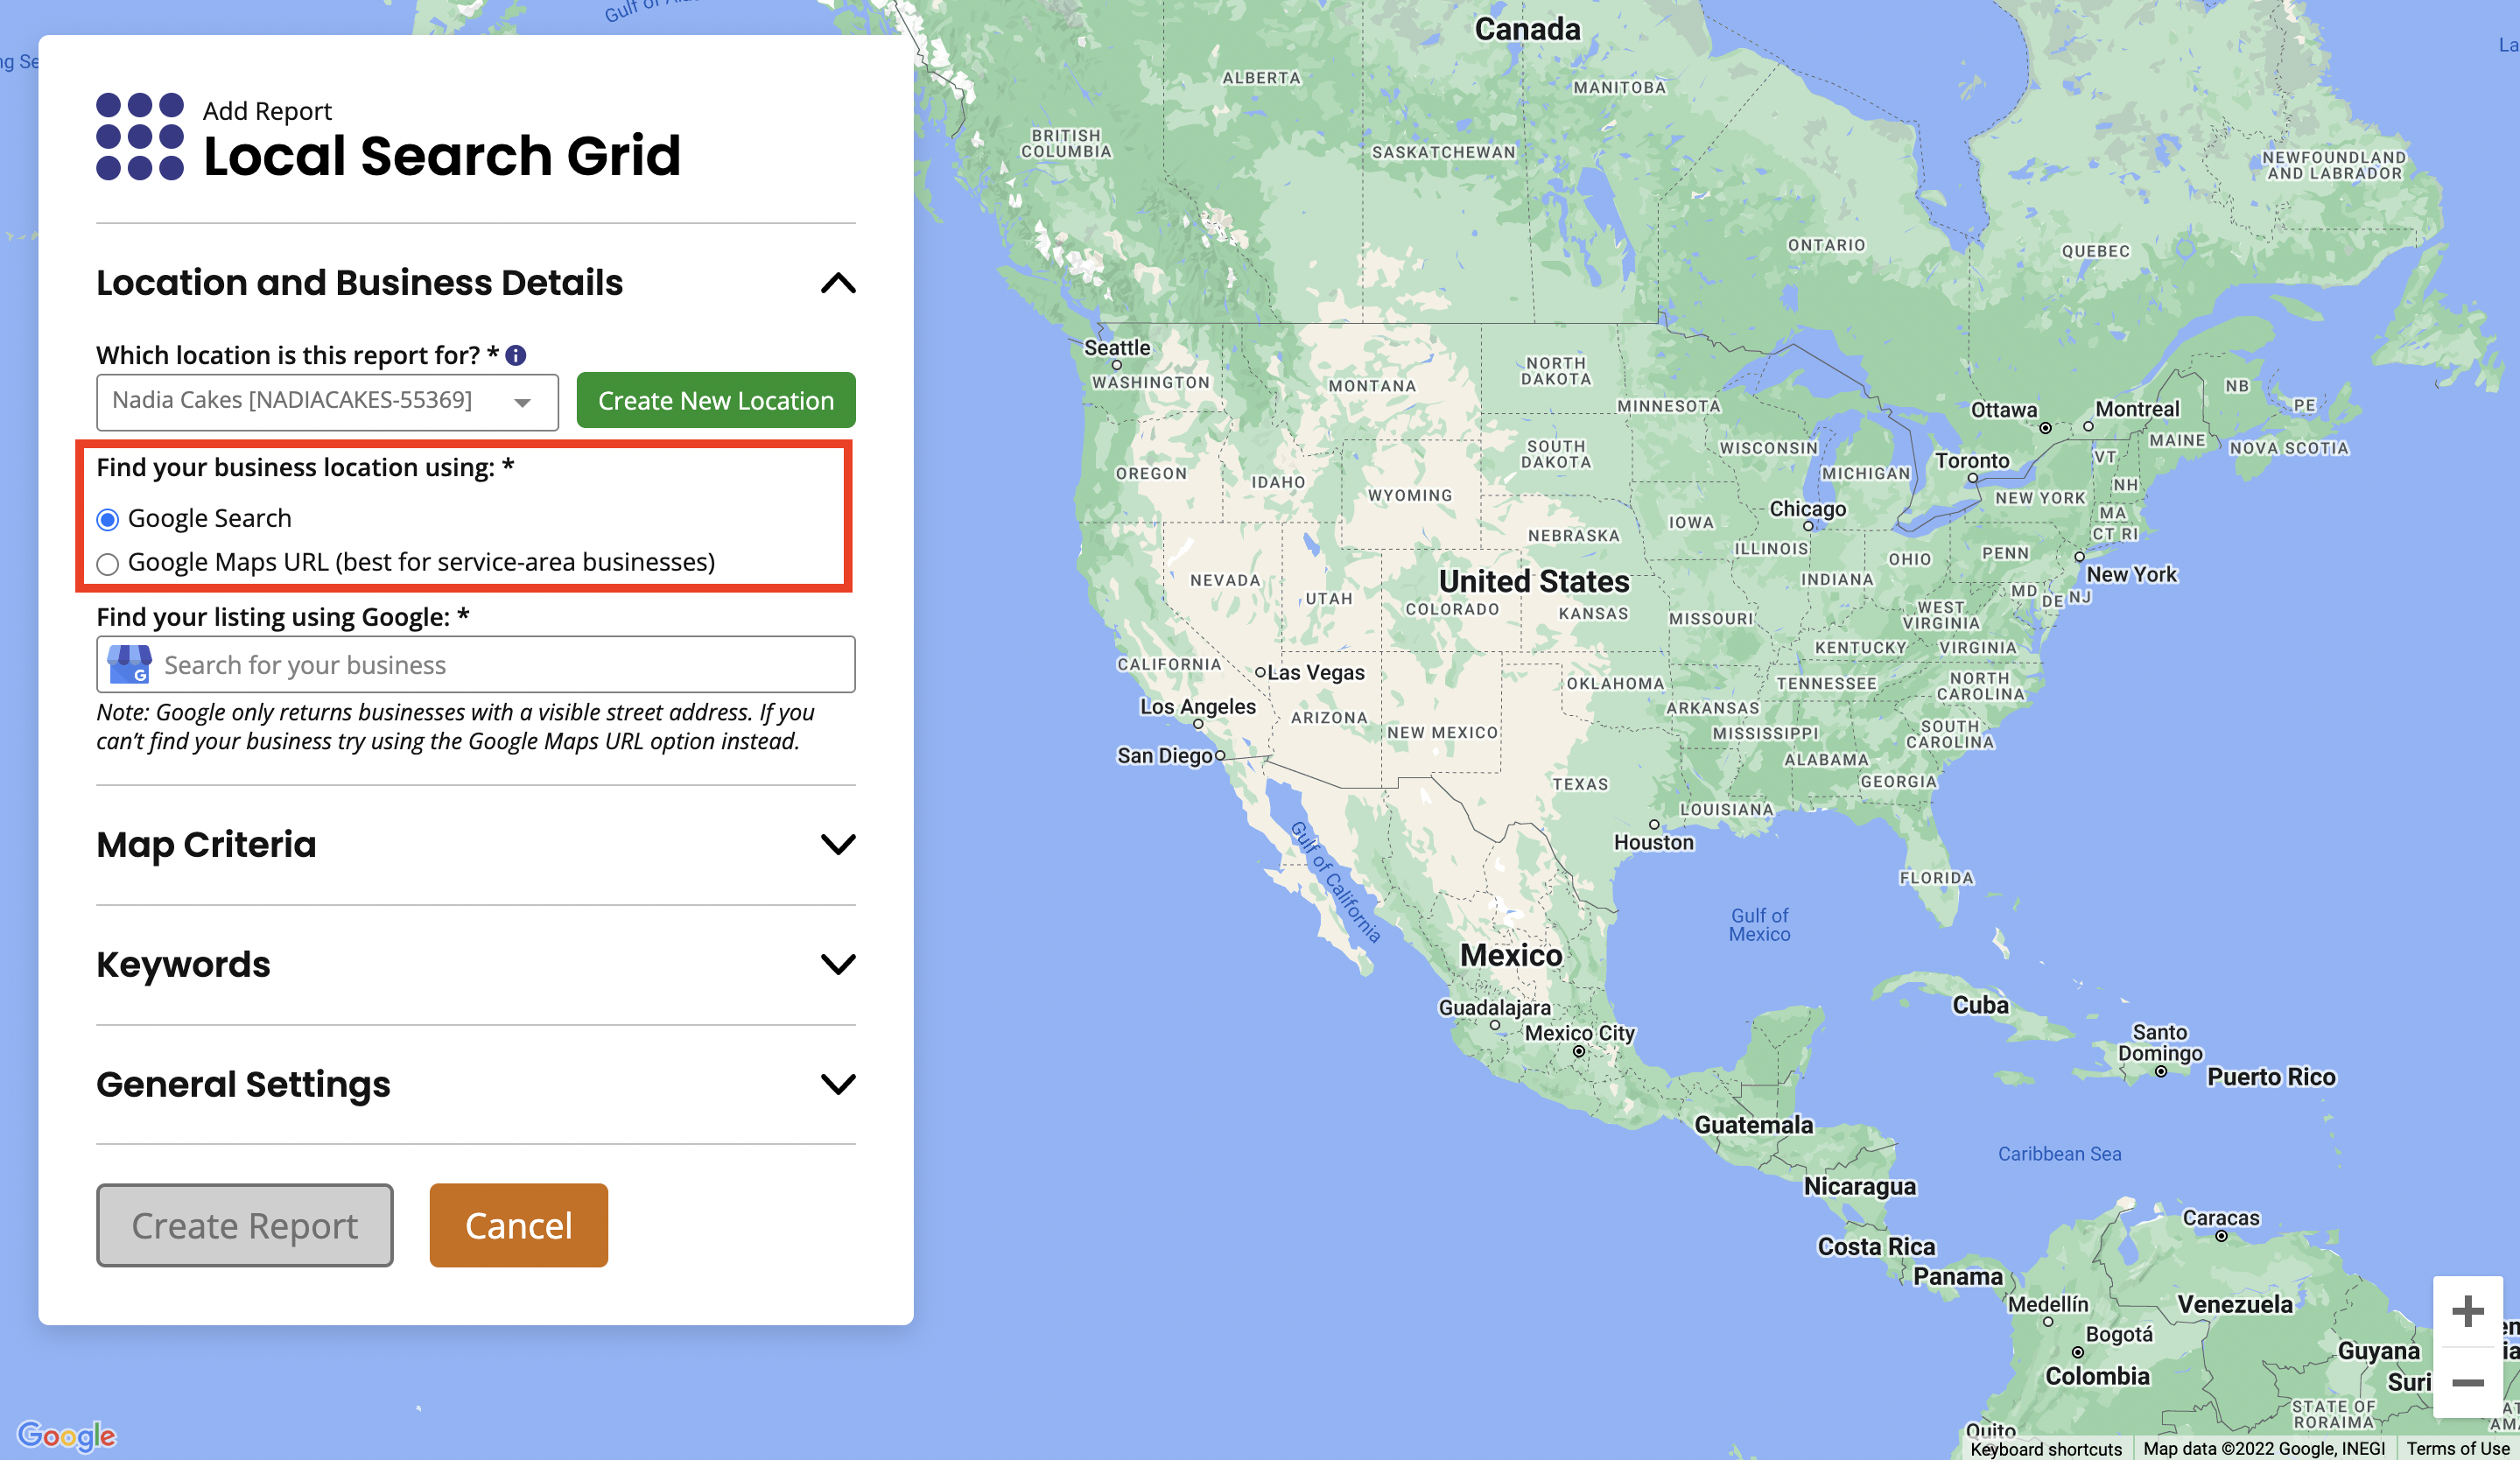
Next, choose whether you want the report to locate your business via Google Search or Google Maps.
If you're a service area business it’s best to choose Google Maps here. This is because Local Search Grid uses the Google Places’ Autocomplete feature to find where a business is located. However, if you're a service-area business and not displaying your address in your Google Business Profile (formerly known as Google My Business), the Google Places’ Autocomplete feature won't be able to find your location on the map. To get around this we use Google Maps instead. When you give us your Google Maps URL, we are able to locate your business location from the coordinates set by Google in the Maps URL and use that location to plot a grid around it.
Click here for information on how to find your Google maps URL.
Start typing your business name into the box labelled ‘Find your listing using Google’. Locate and click on the correct Google Business Profile from the list that appears.
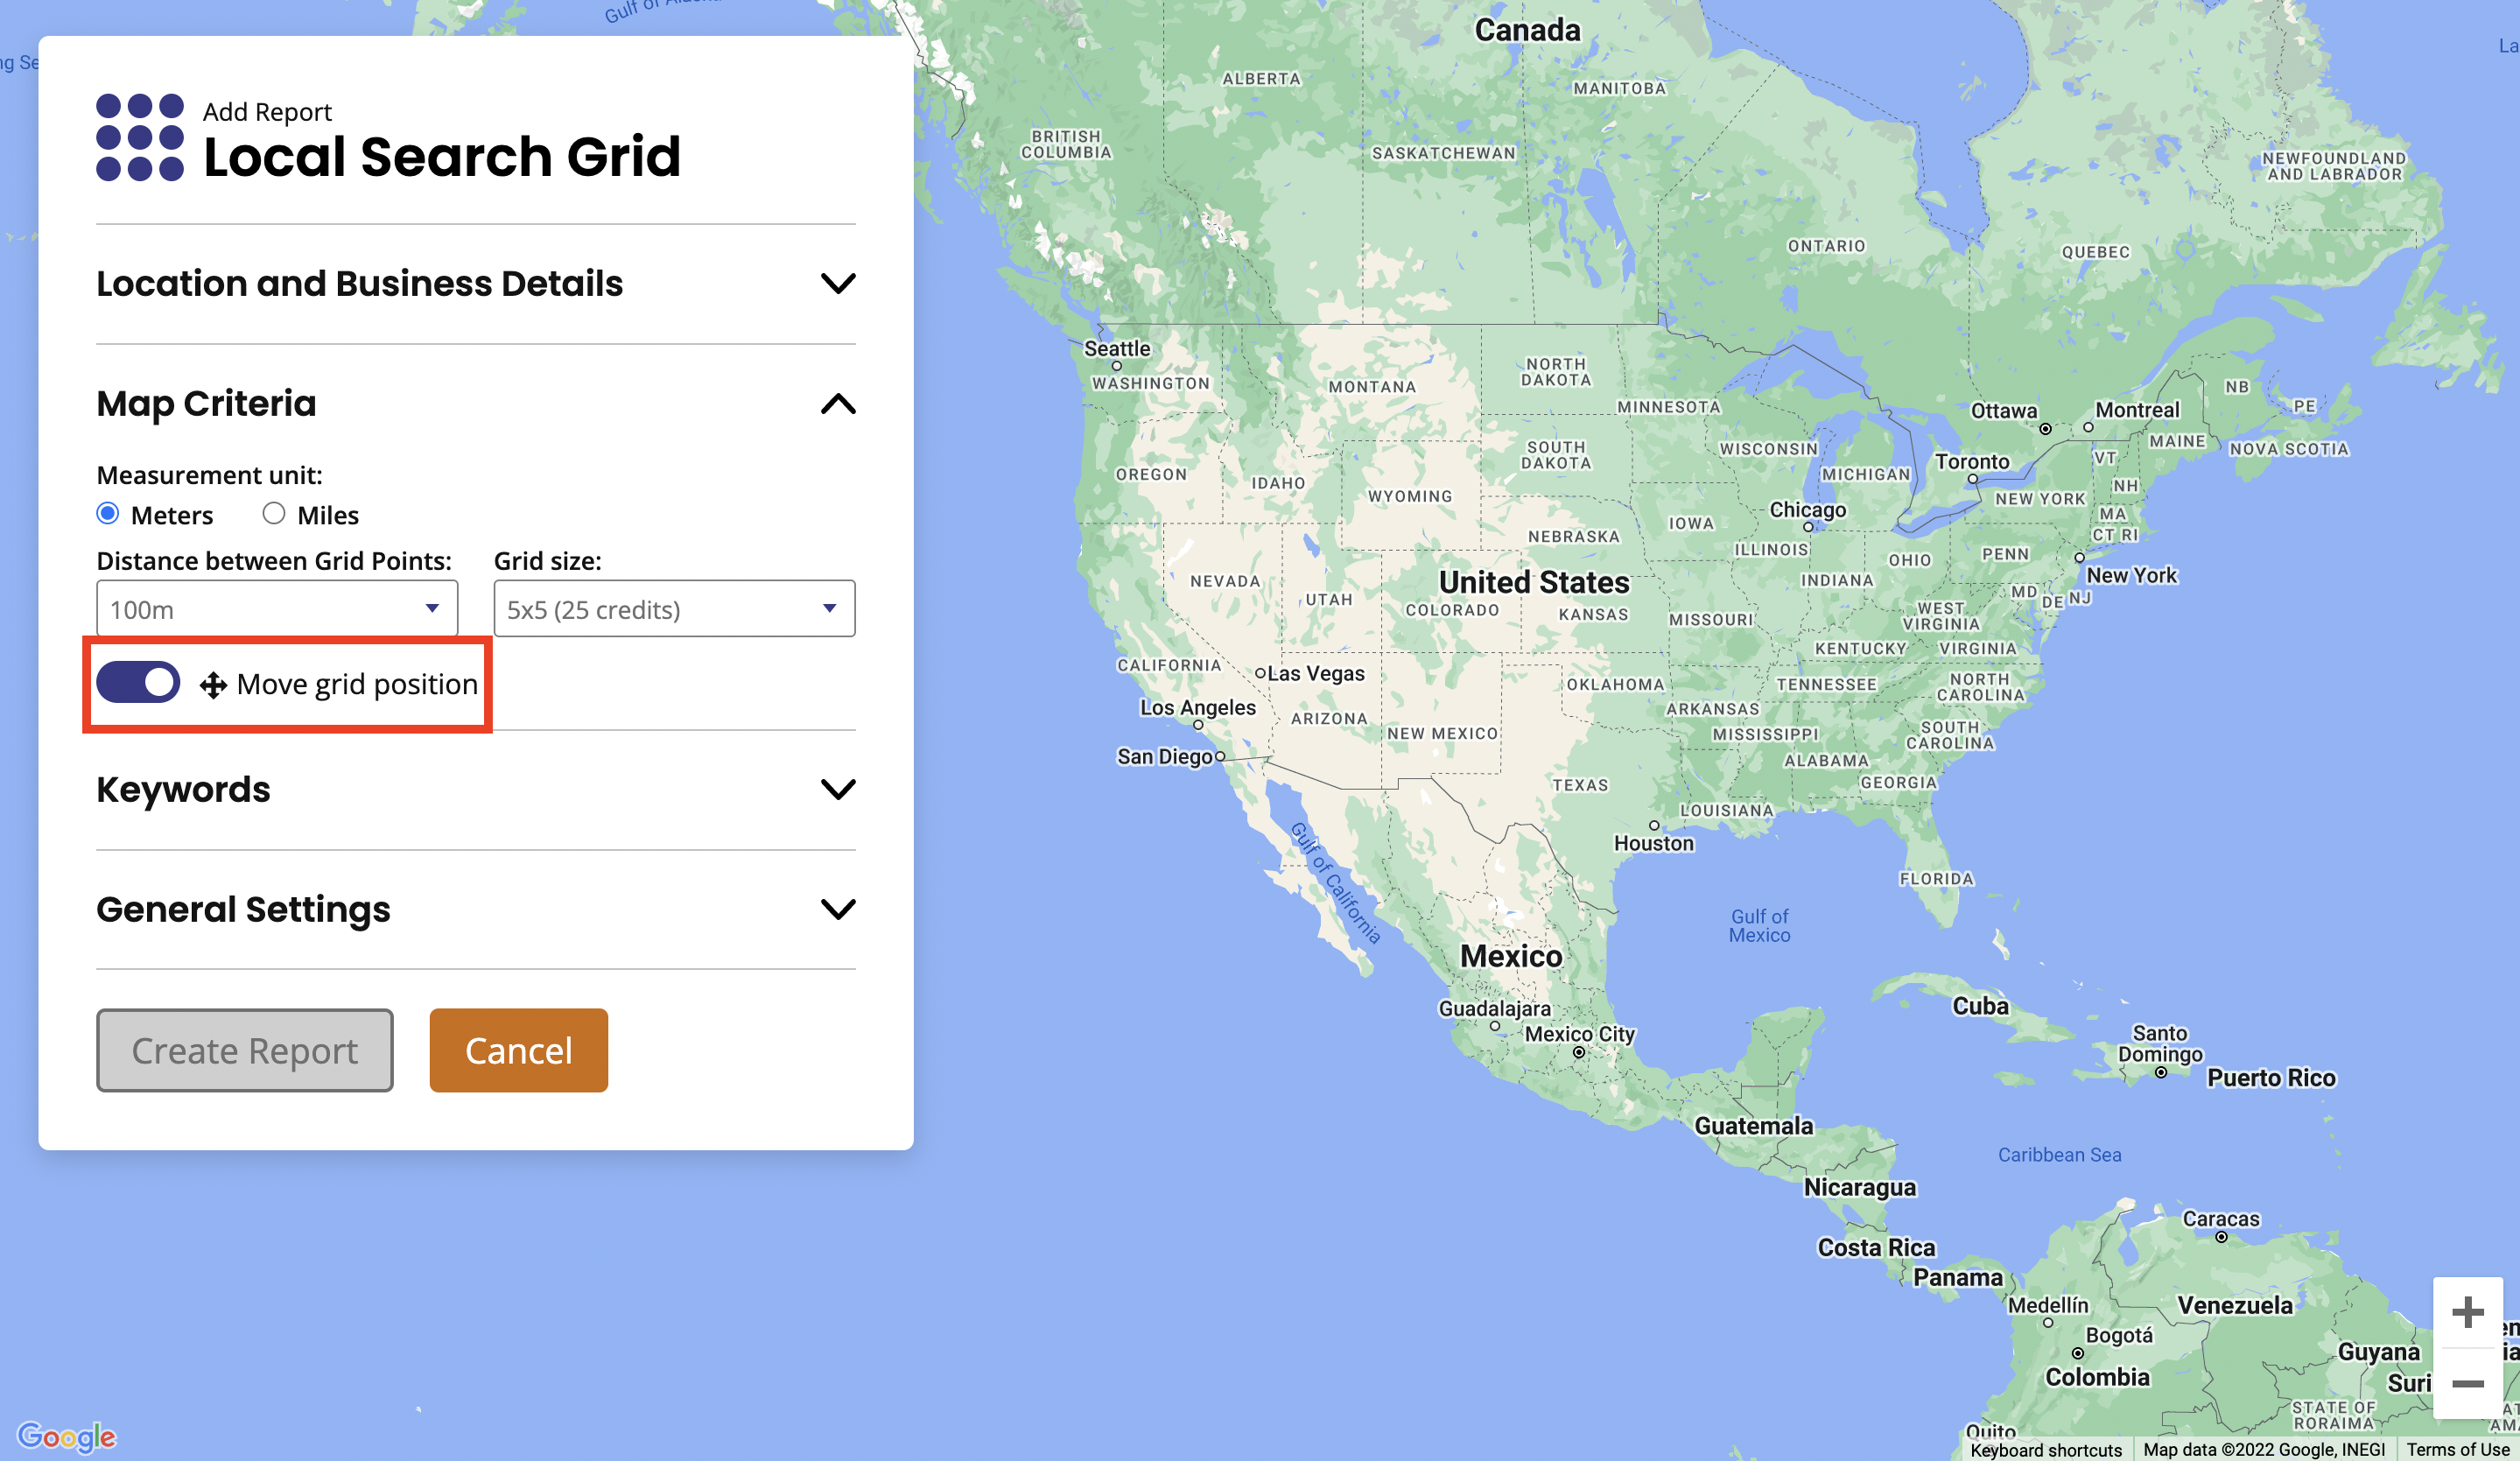
3. Map Criteria
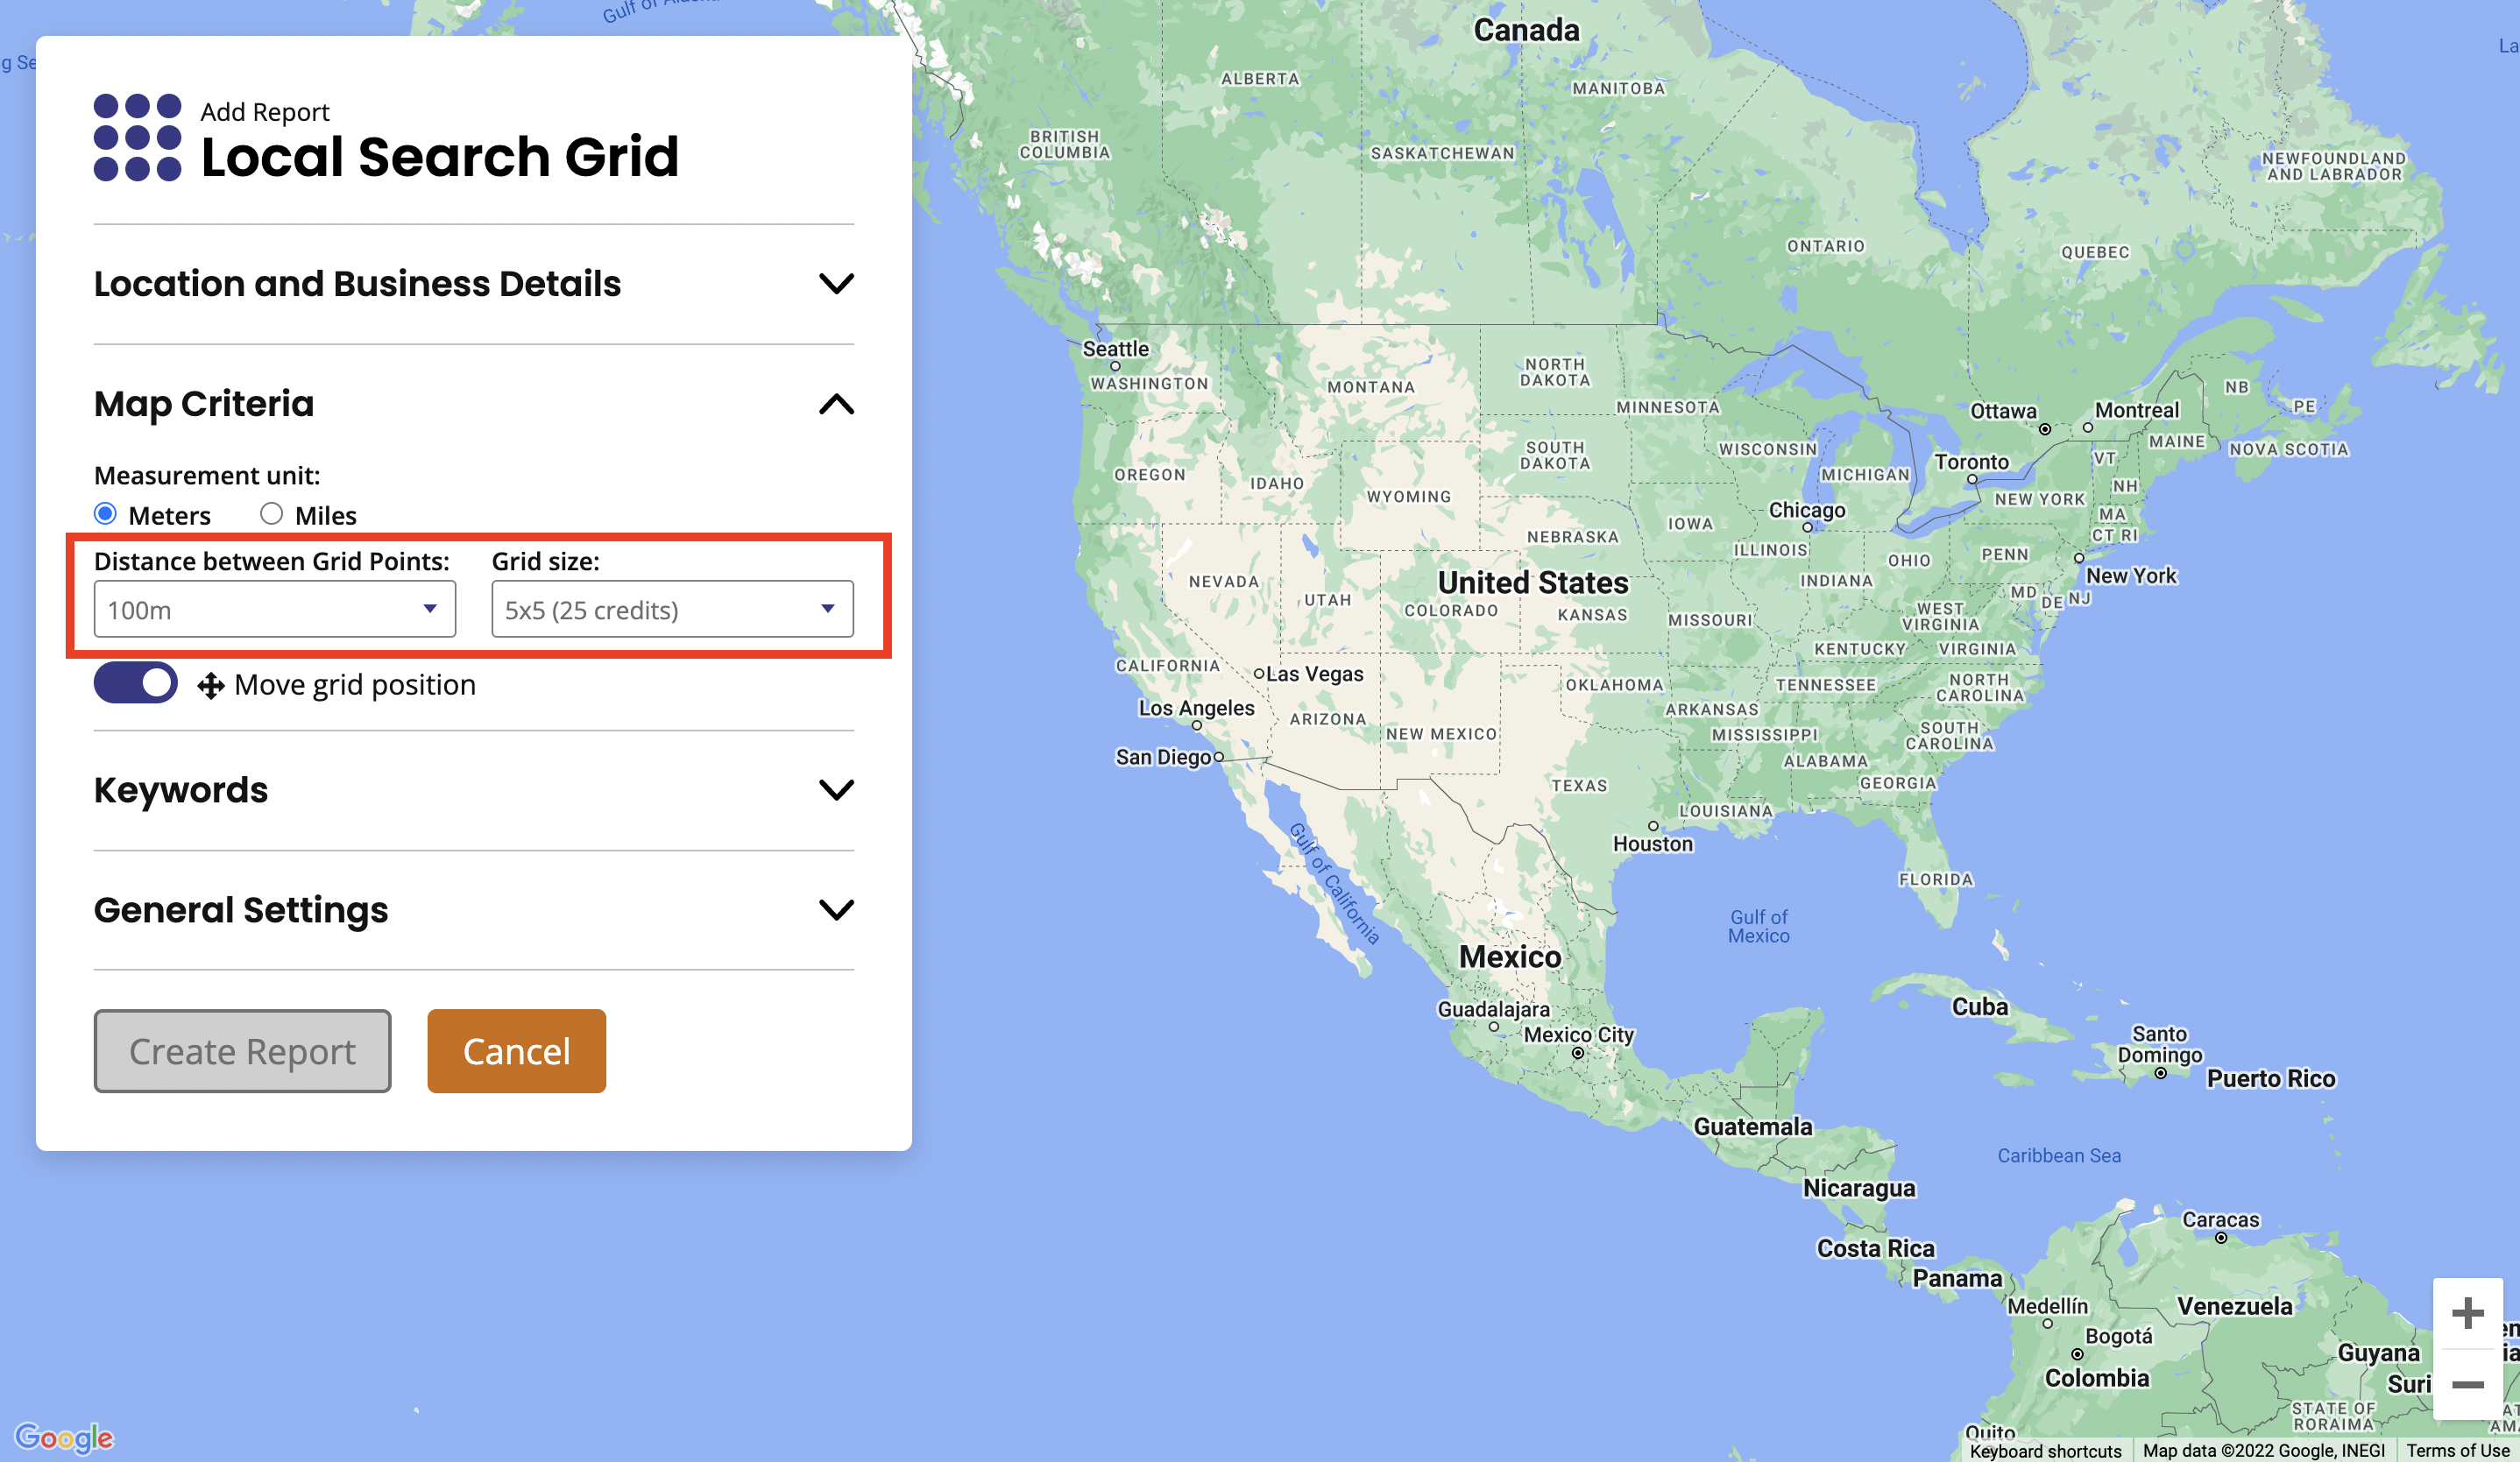
Next, you need to set the area that you want to track. Select whether you want to measure in meters or miles, along with the grid size and distance to suit your needs.
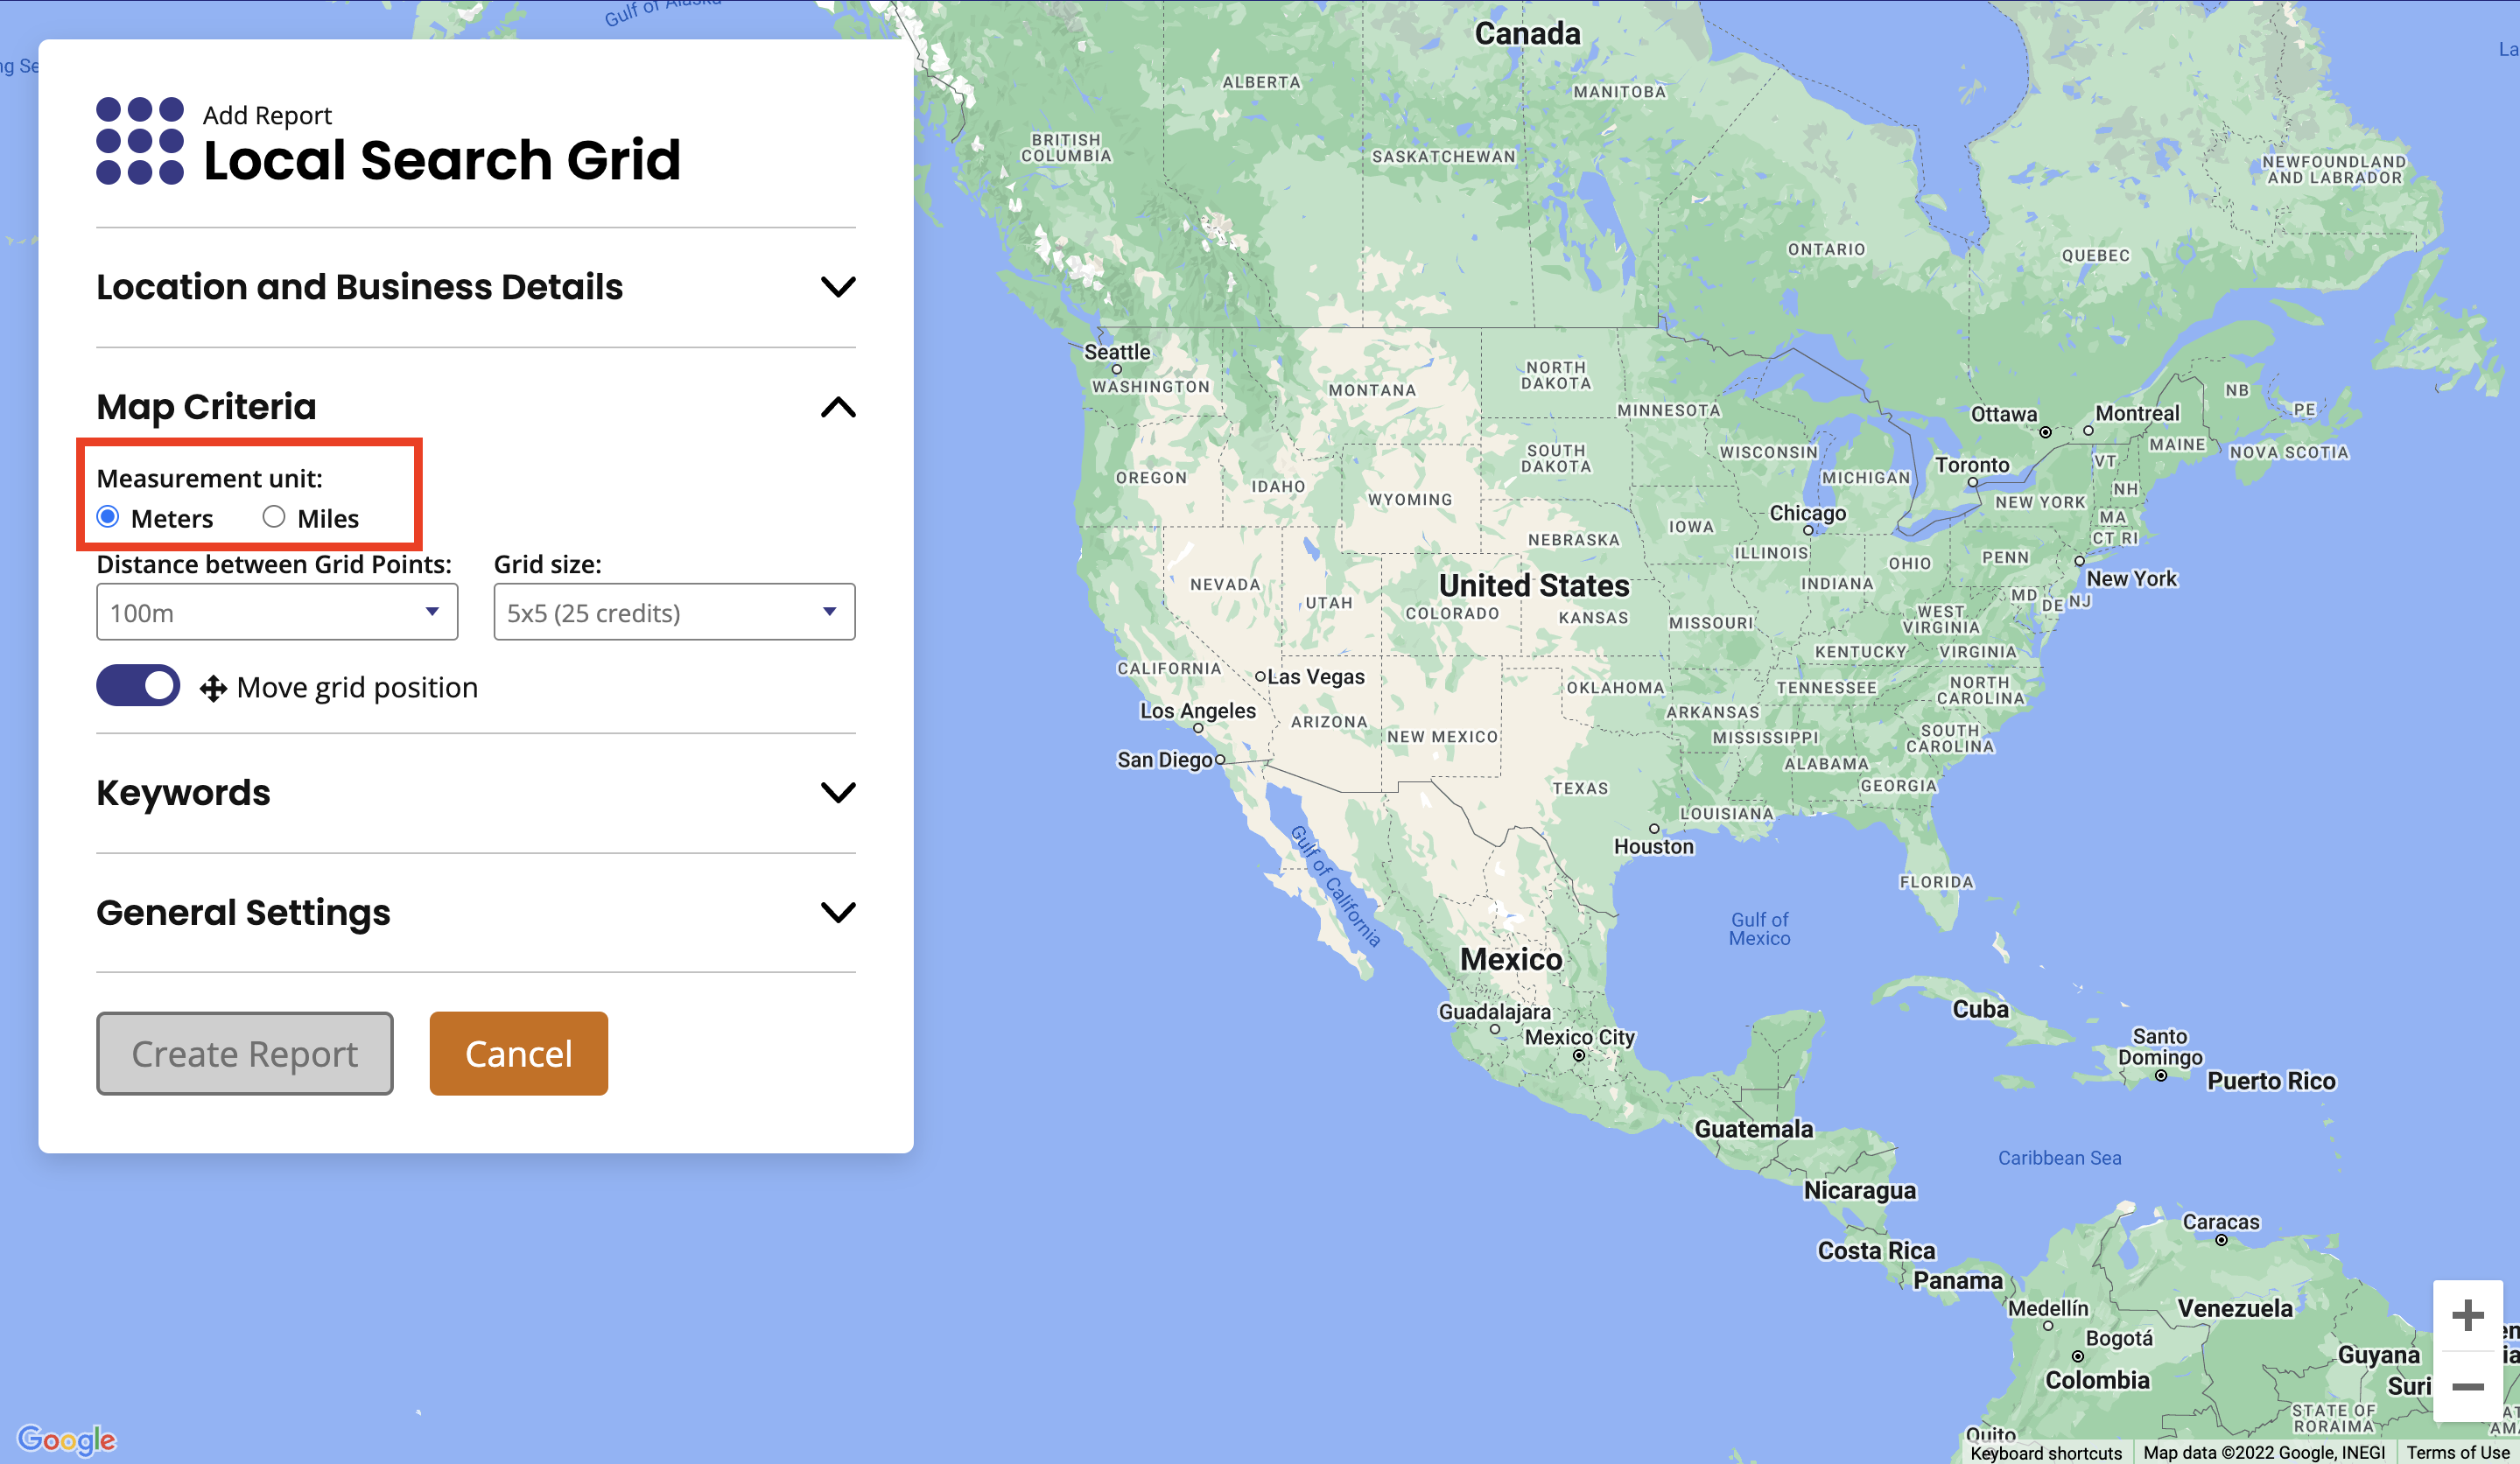
If you want to move the grid position on the map yourself, make sure the ‘Move grid position’ box is checked and then you’ll be able to drag the grid points on the map to cover the exact area that you want.
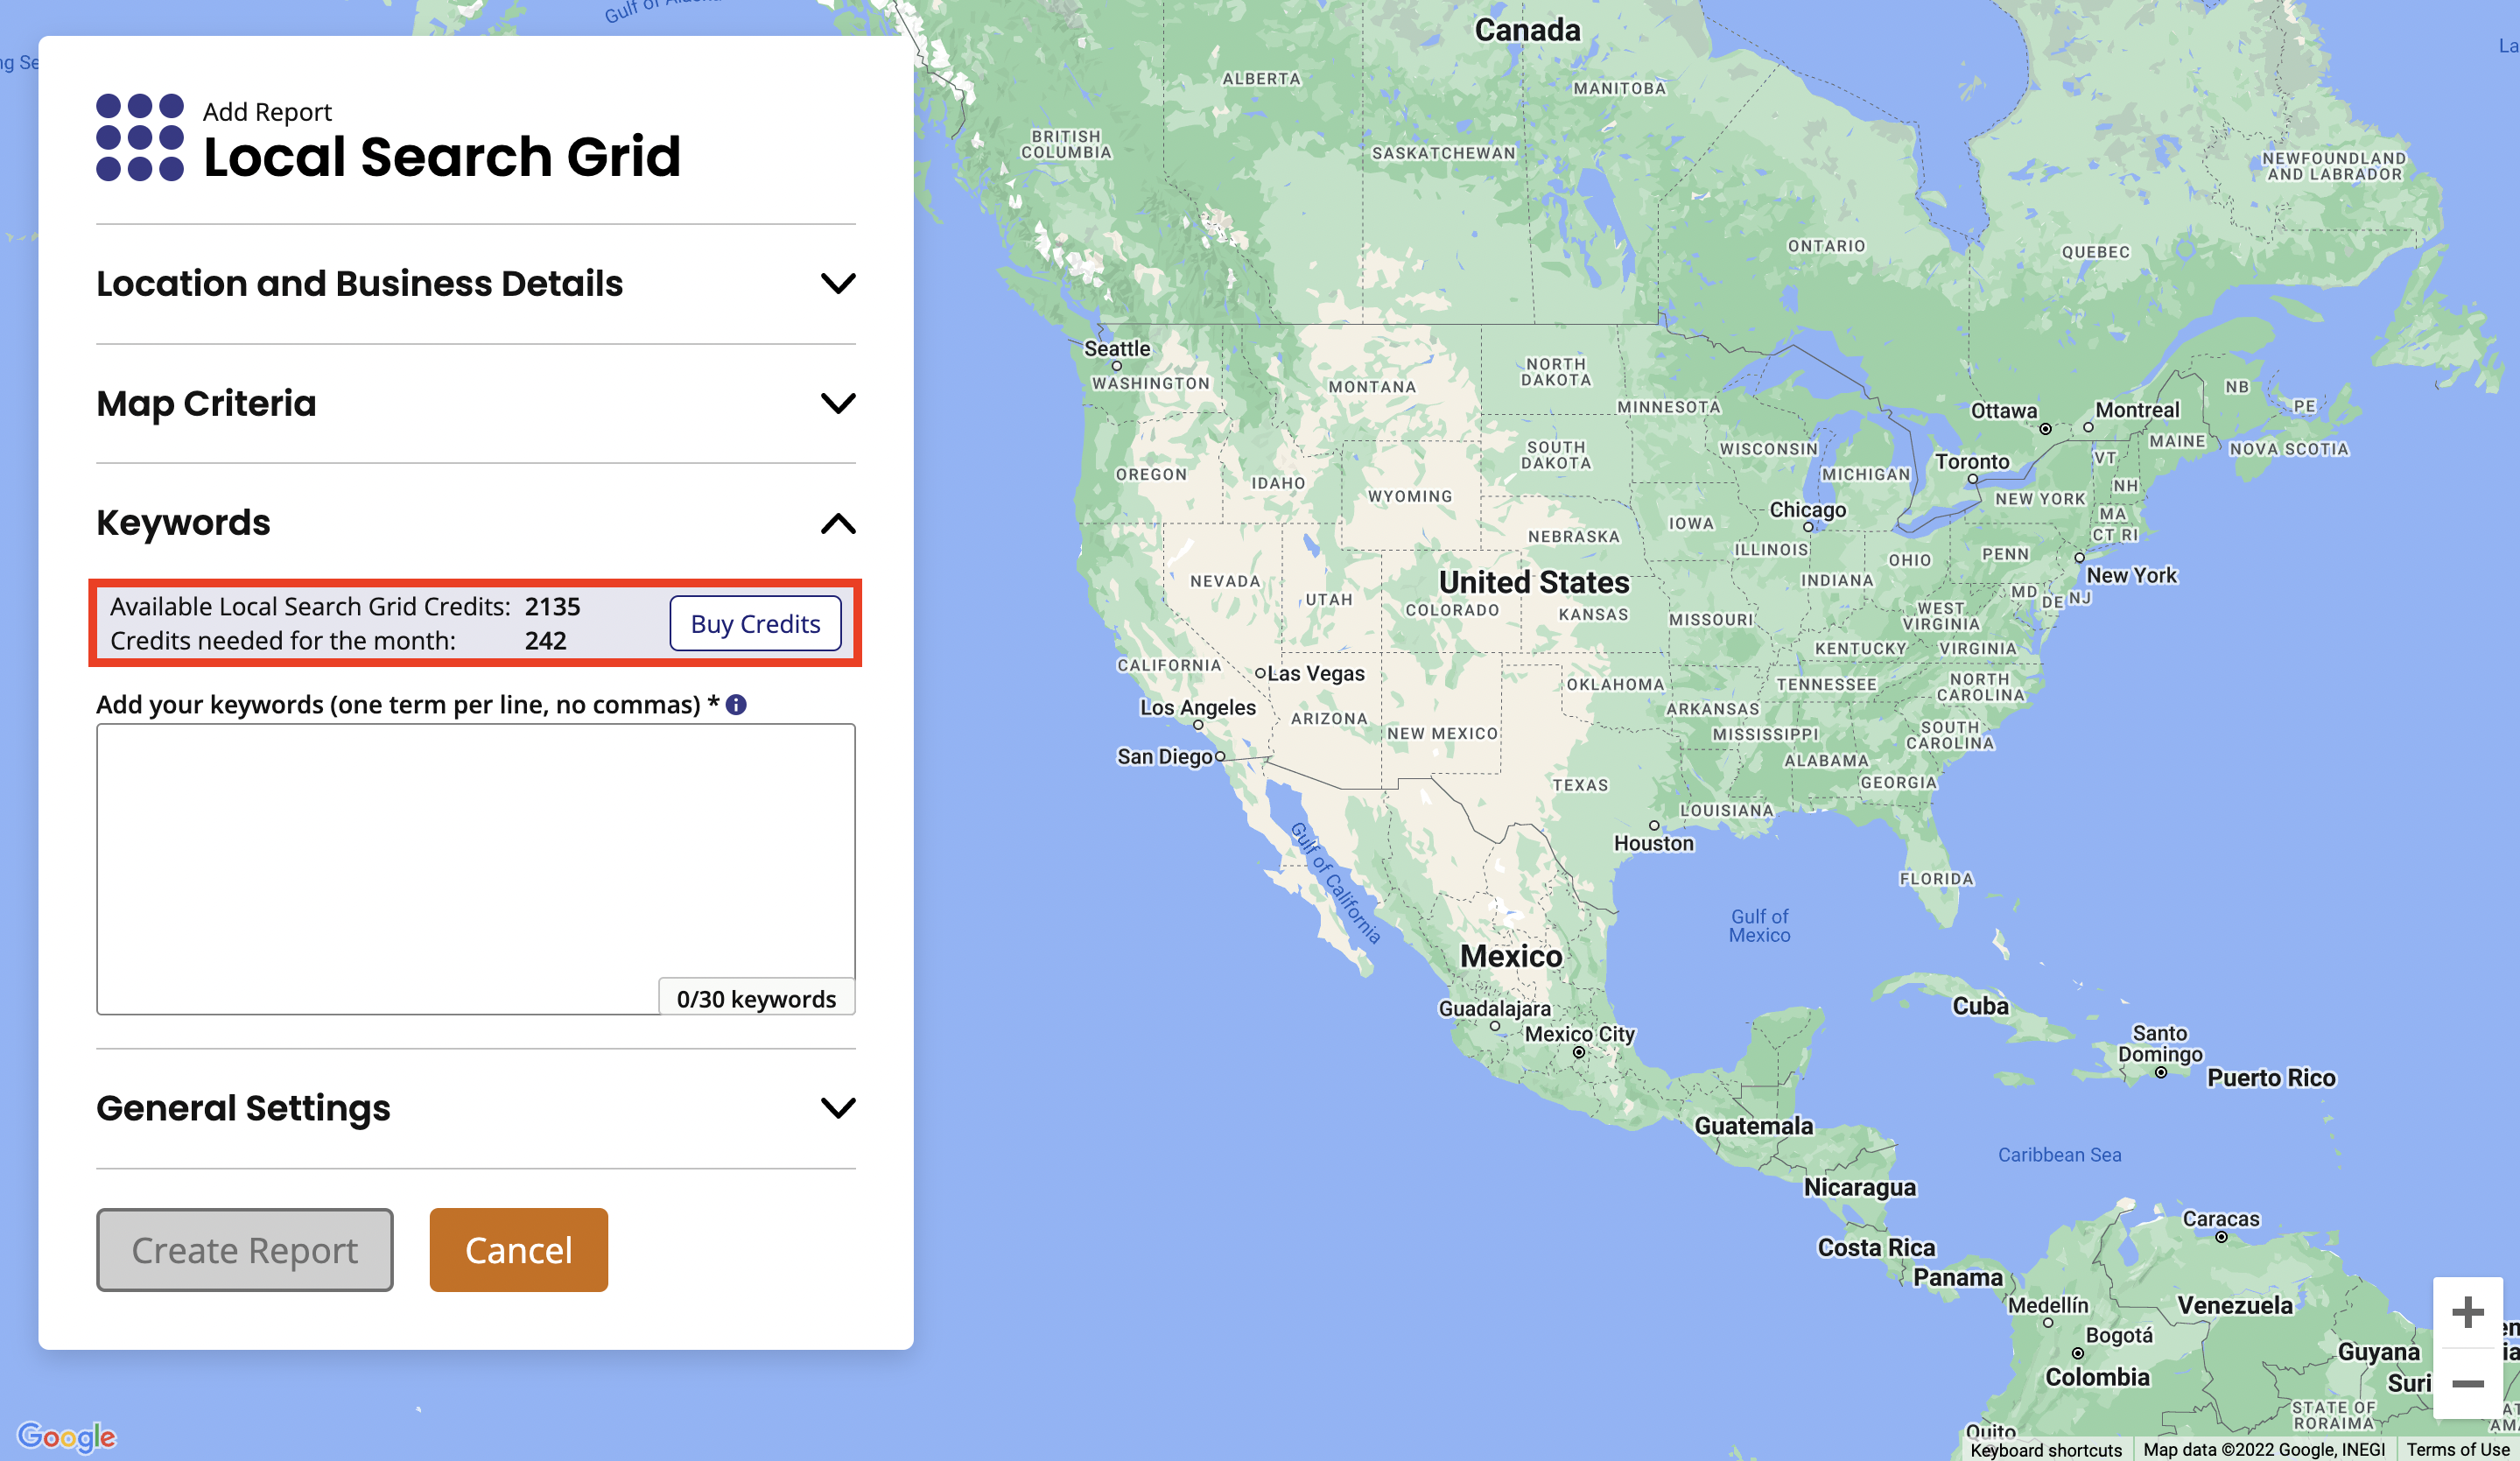
4. Keywords
Enter up to 30 keywords that you want to track and learn how well your business is ranking for (as shown in the red box below).
If you'd like some help knowing which keywords to track, check out this course in the BrightLocal Academy: How to Master Local Keyword Research.

Each keyword you add will impact how many credits are used to run the report. The number of credits you have will be displayed here (as shown in the red box below). Find out more about how credits work here.
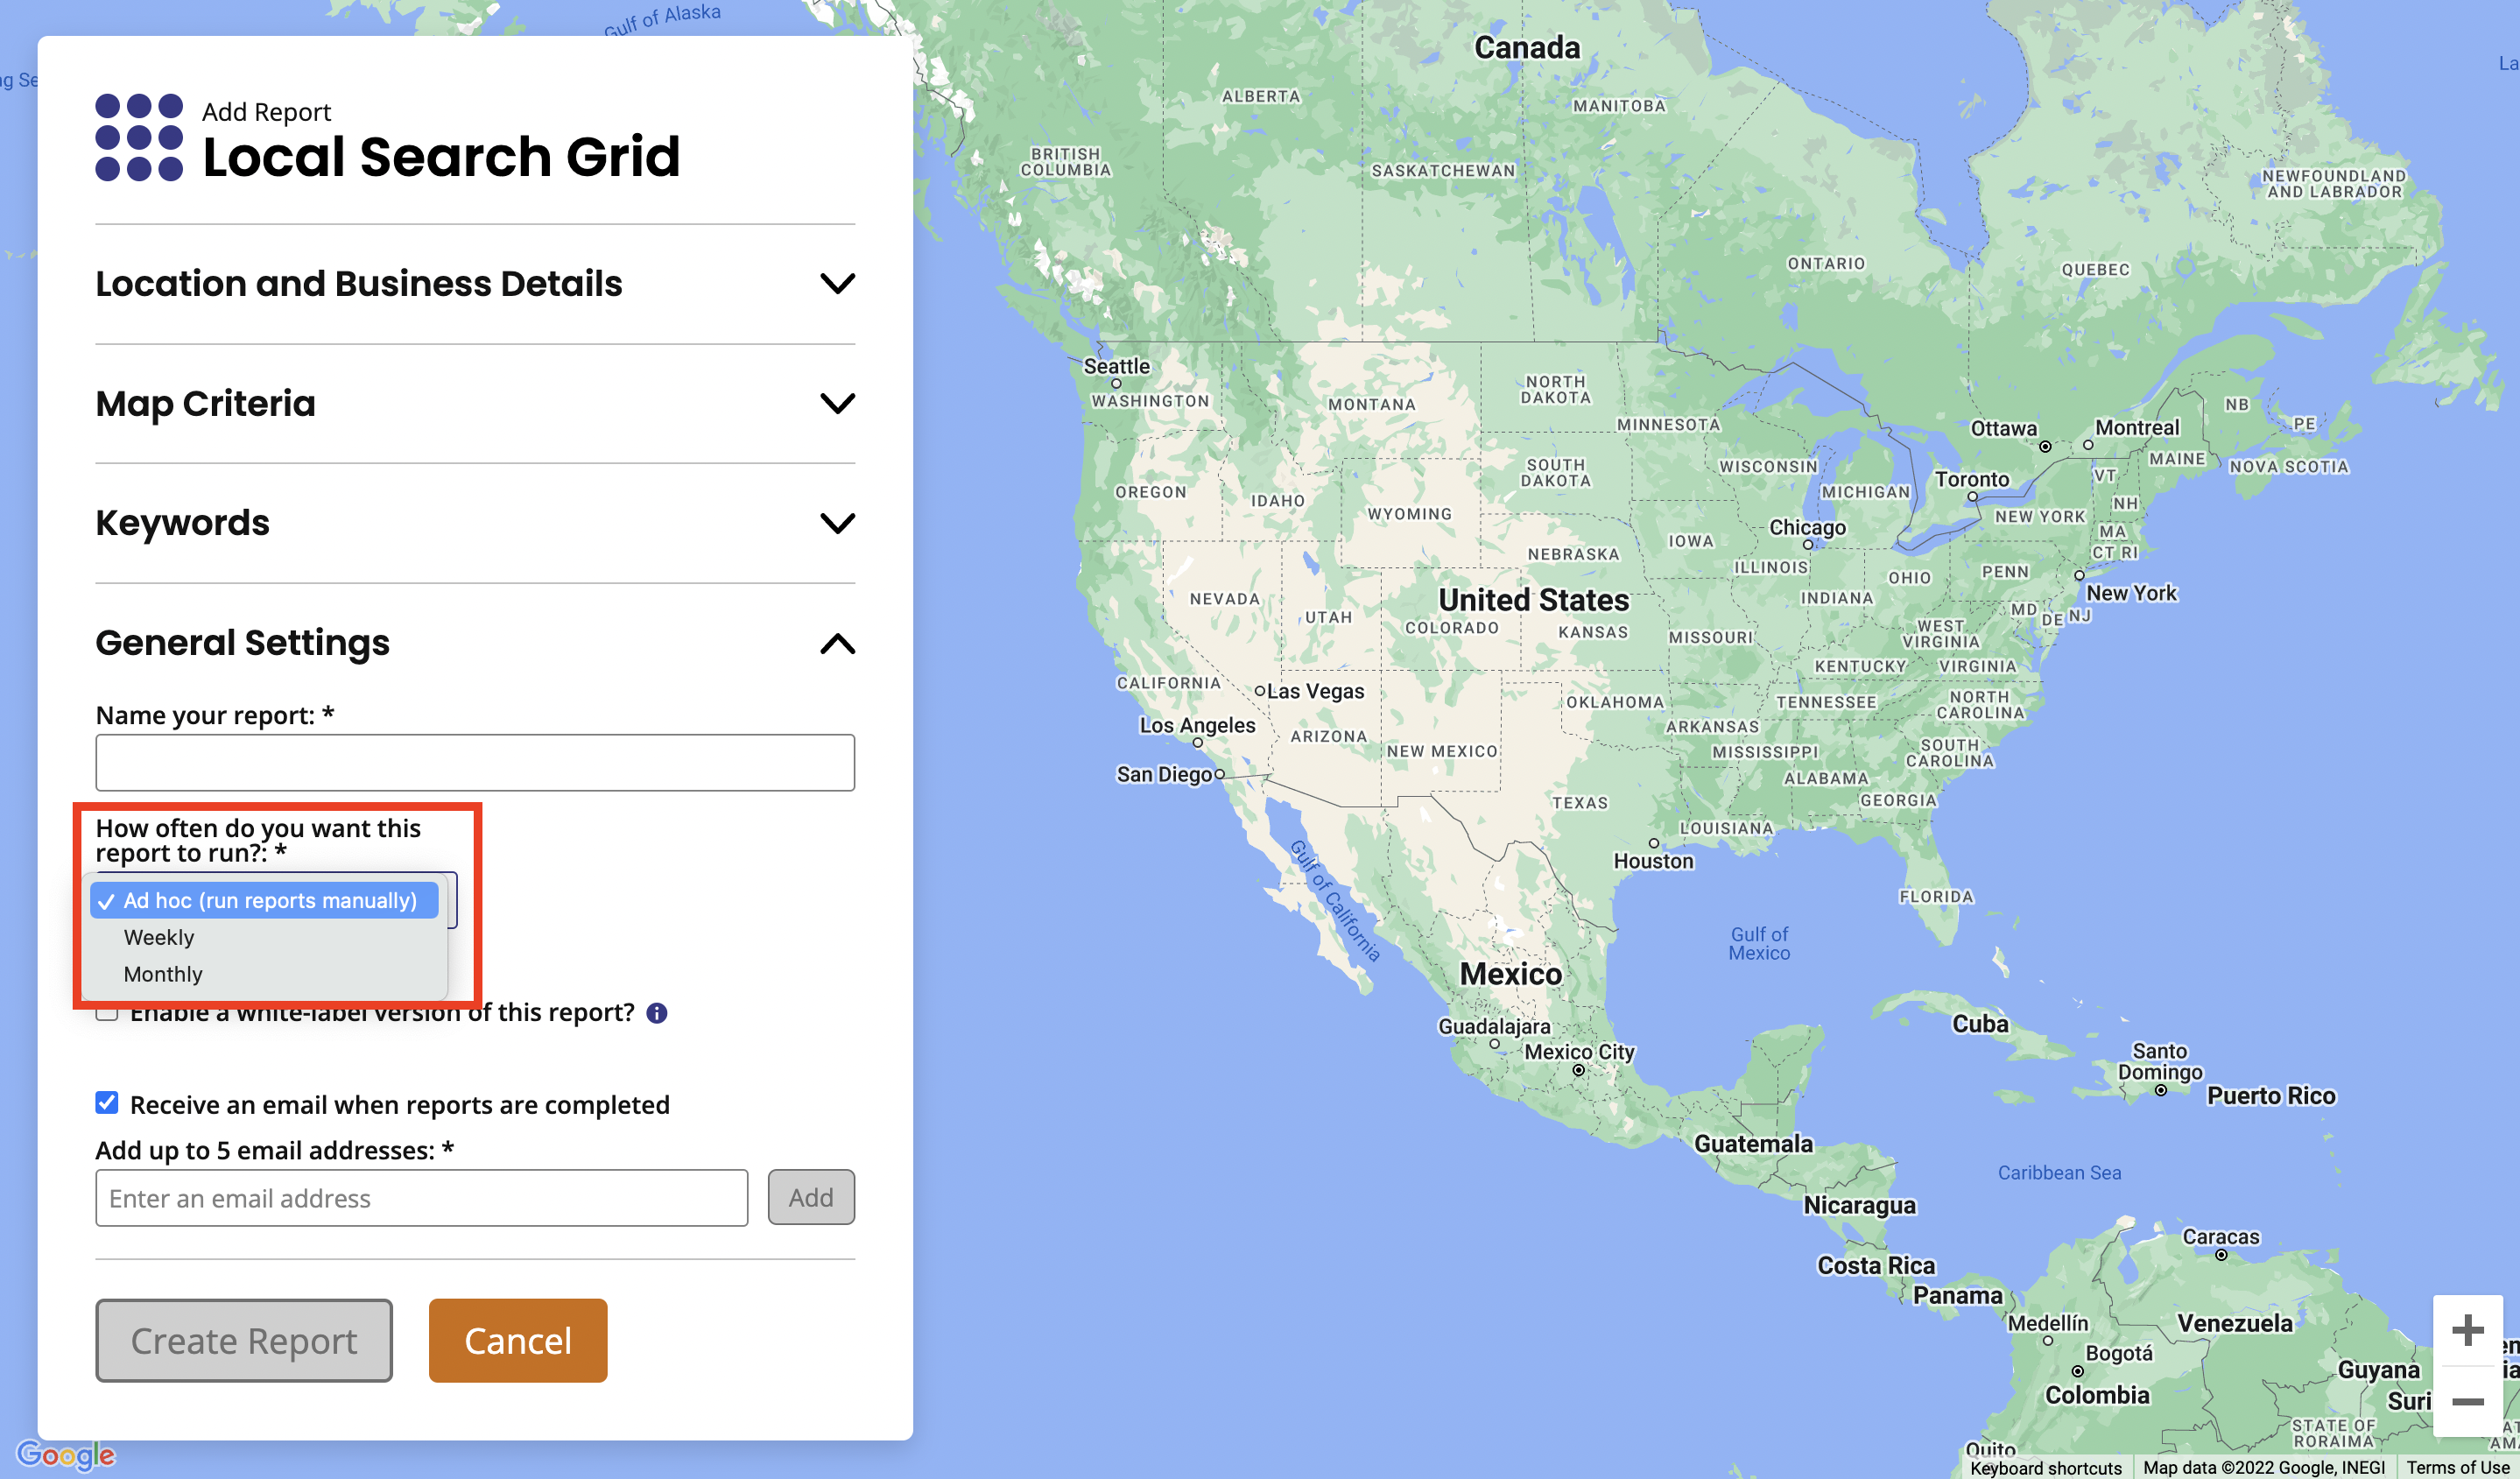
5. General Settings
Give the report a name in the ‘Name your report’ box.
Then choose how often you want to run the report from the ad hoc, weekly or monthly options in the dropdown.
If you’re working for an agency, you can use the ‘Enable a white-label version of this report’ checkbox to select a white-label profile with your agency’s branding so your report looks slick and professional.

Lastly, if you want to receive an email each time the report is run or notify a colleague or client, select the ‘Receive an email when reports are completed’ checkbox. Then add the email addresses one at a time, hitting the ‘Add’ button after each one. You can add up to five.
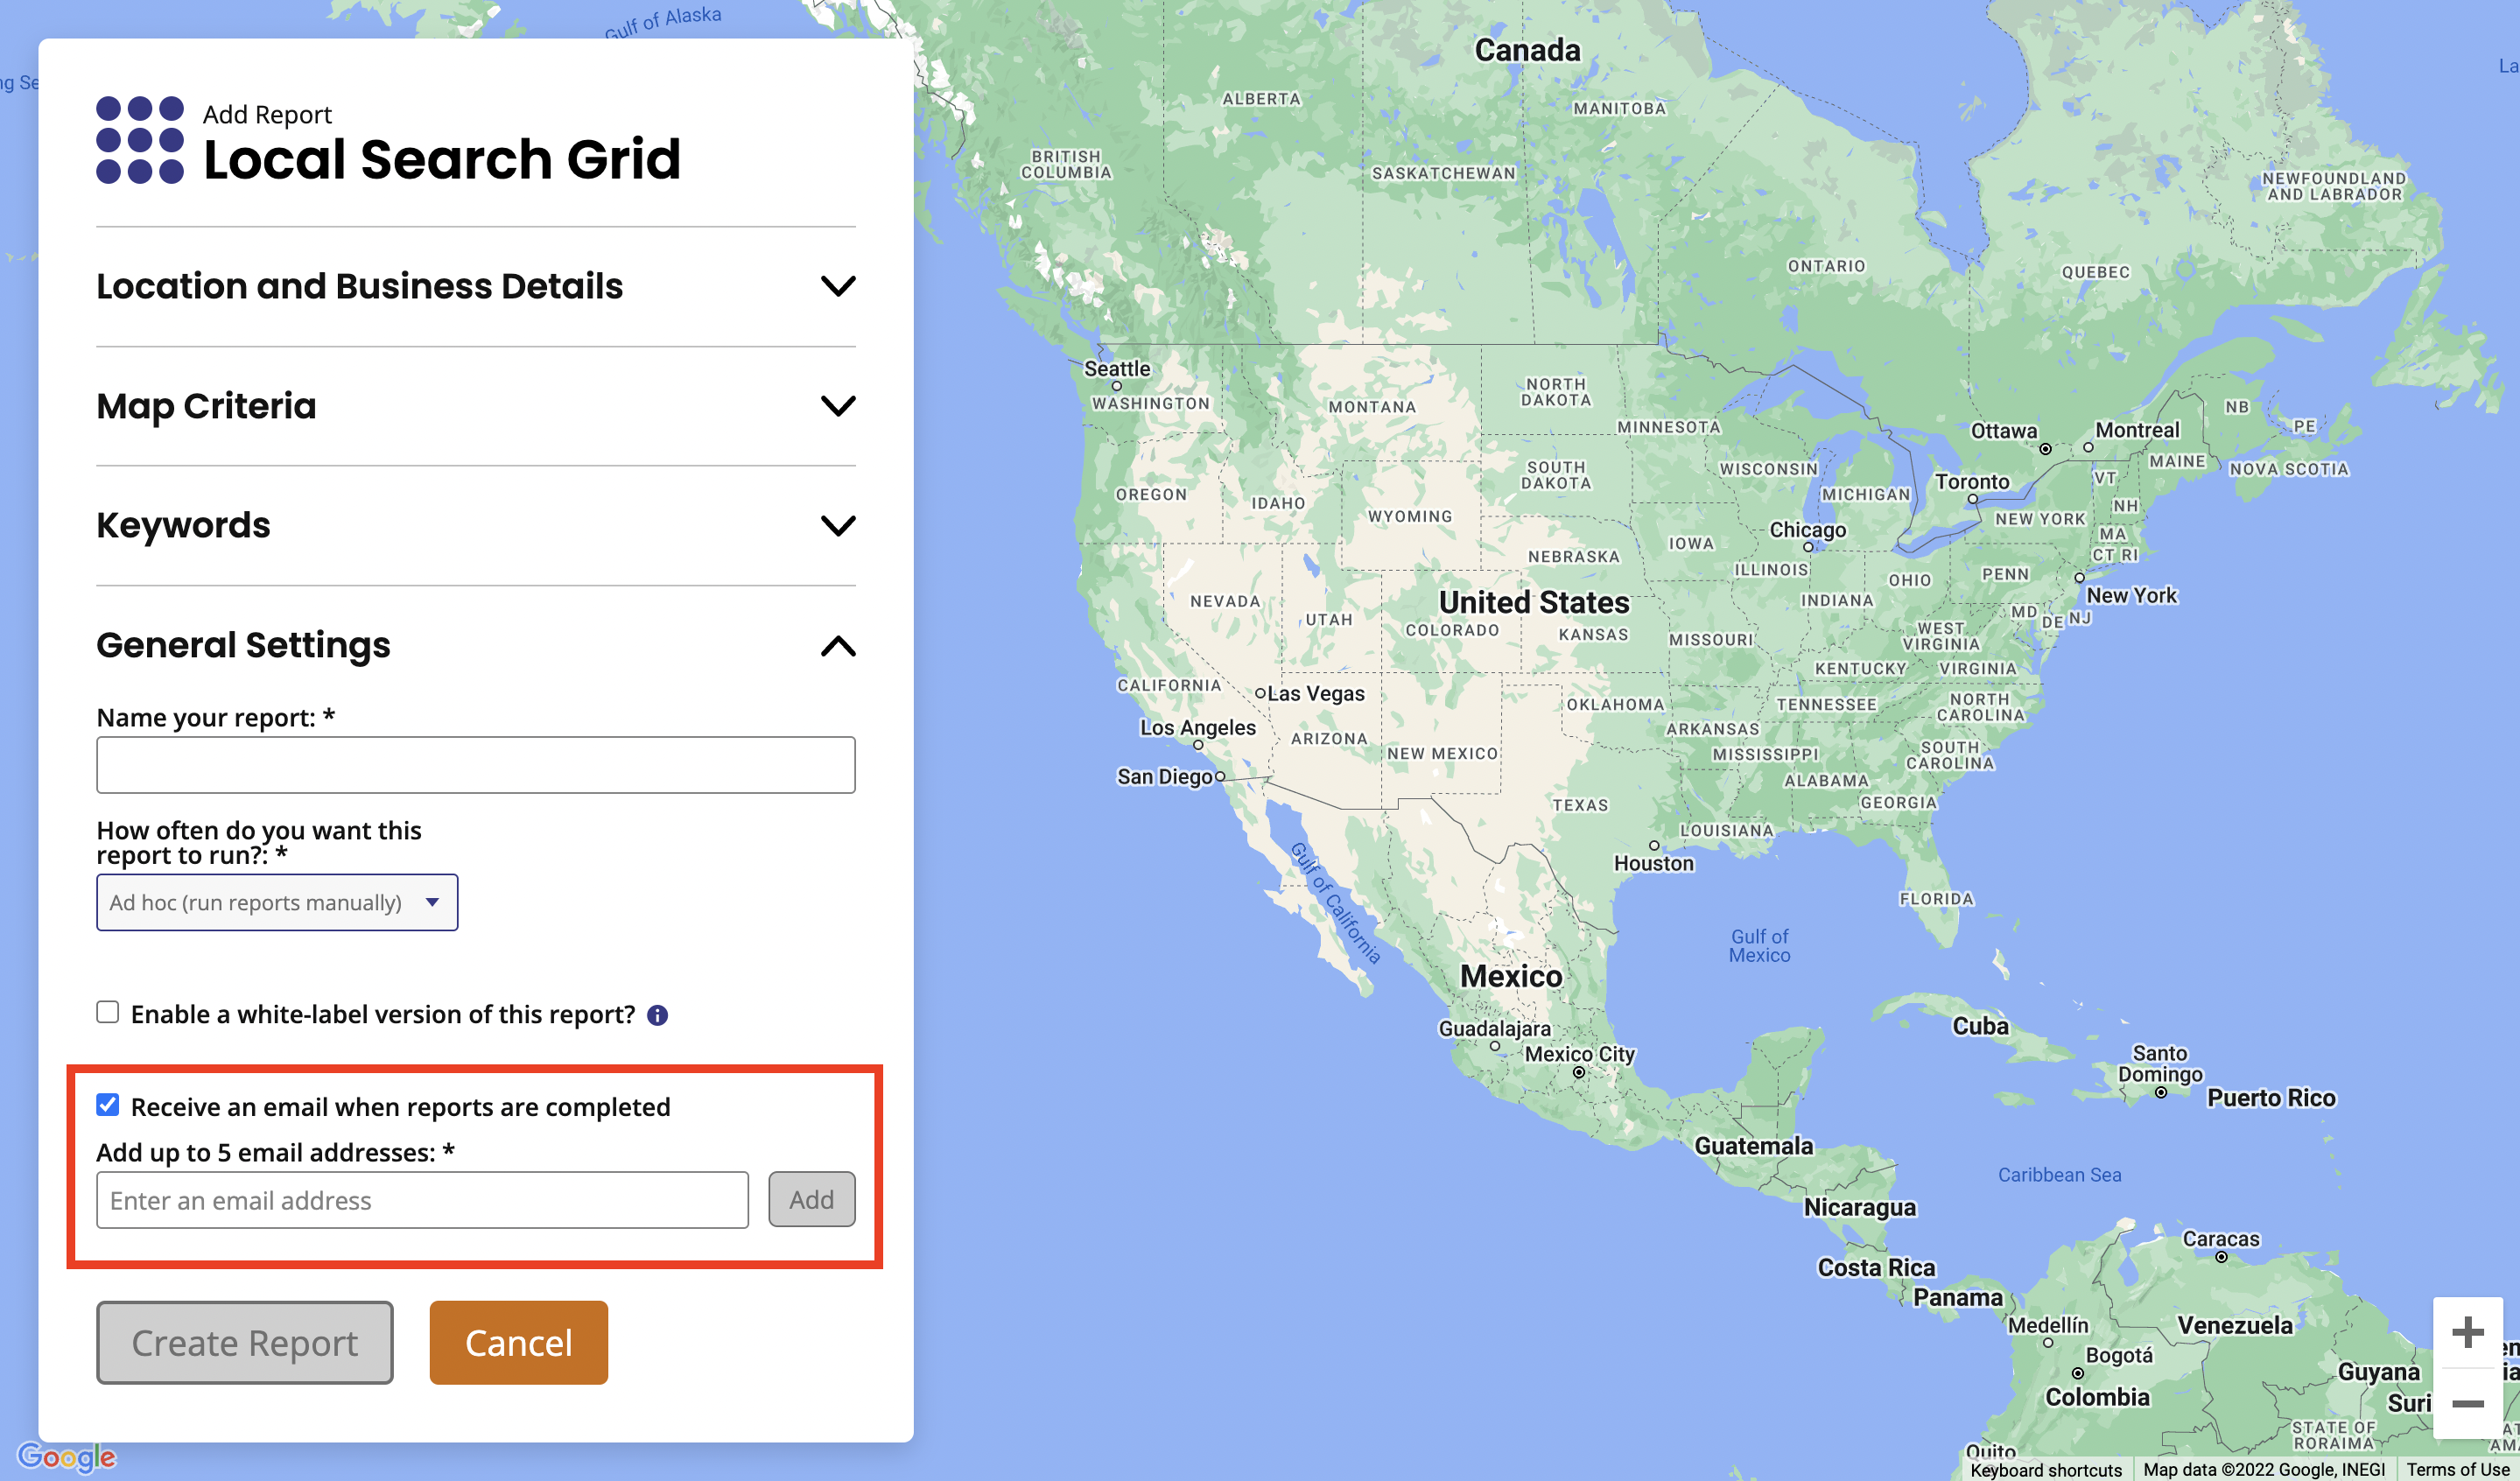
When you’re ready, click the ’Create Report’ button.
Was this article helpful?
That’s Great!
Thank you for your feedback
Sorry! We couldn't be helpful
Thank you for your feedback
Feedback sent
We appreciate your effort and will try to fix the article